Insulation and energy
How to plan and install roof insulation using PIR boards
In brief
Insulating a roof with PIR boards begins with selecting the whole system, not with ordering the thickest board. Before the insulation is covered, it is worth checking that the design specifies where the insulating layer will sit — above the rafters, below them or on a flat roof deck — and that the chosen board has the right facings, edges and mechanical properties for that system. It should also be confirmed that the substrate is stable and prepared for the fixing method, and that joints remain continuous. Leave the thickness and laying decision to the designer.
How do you choose the right board for the application?
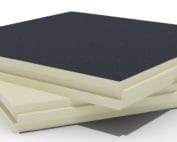
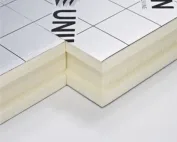
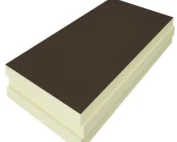
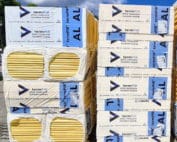
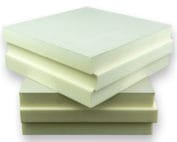
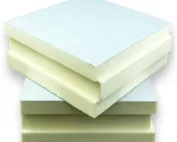
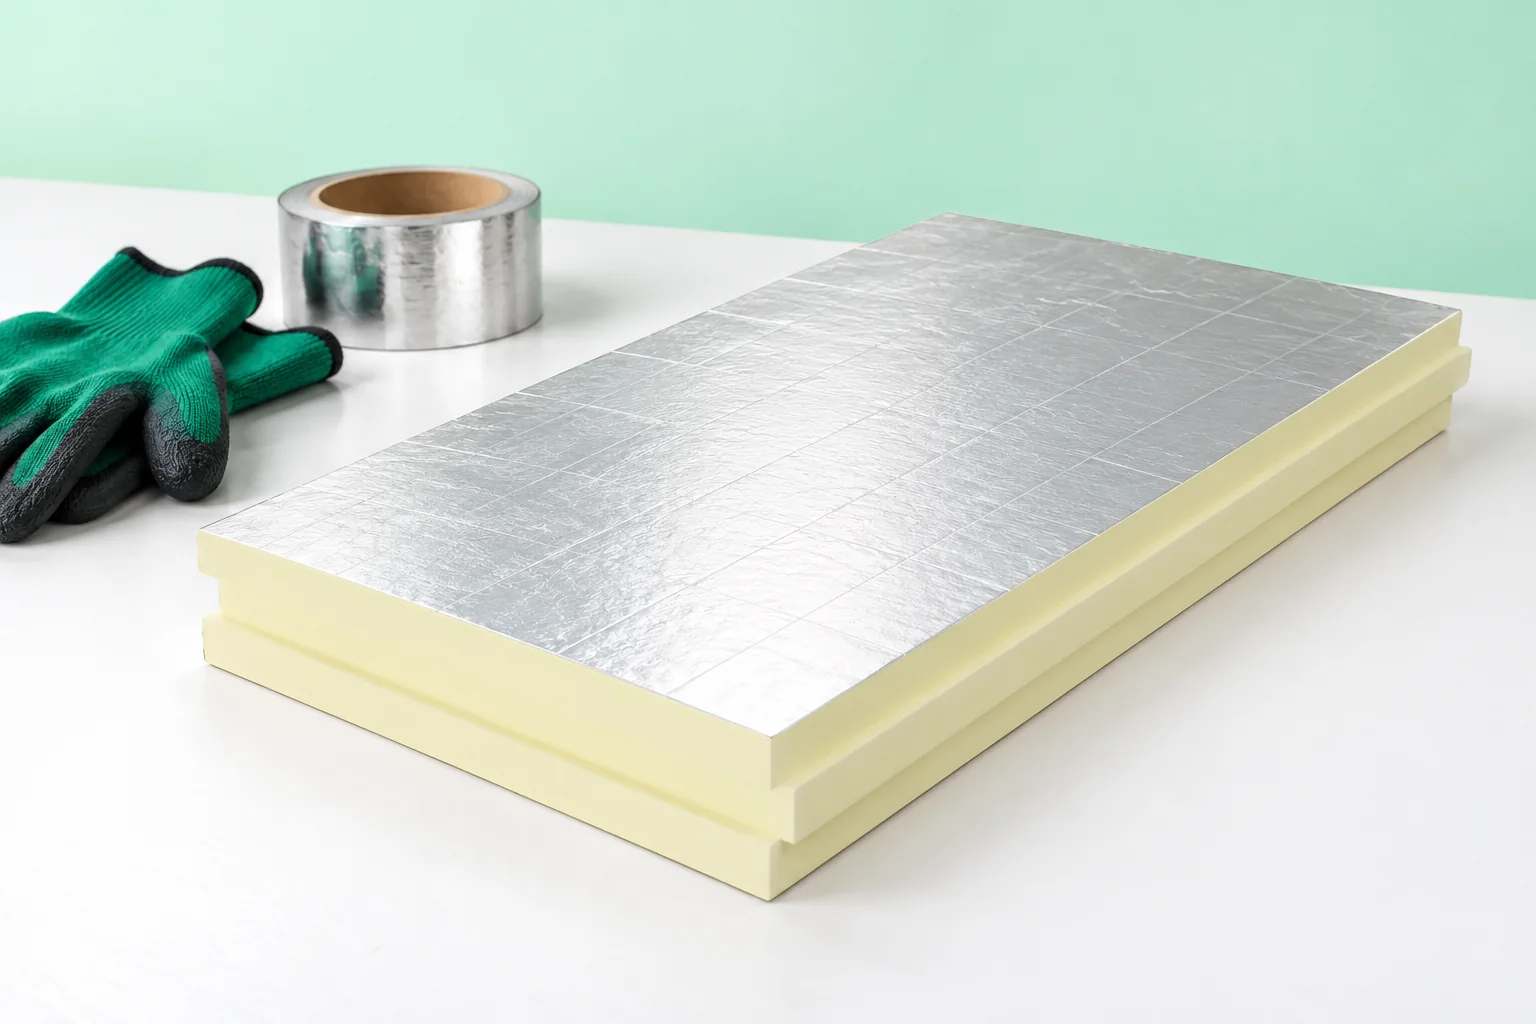
PIR is available in various facings and variants. For a roof, the product intended for the specific assembly must be selected. Lambda, thickness, edge detail and mechanical properties are important. A board intended for plaster is not necessarily a substitute for a board with aluminium laminate. The difference is not only in the surface appearance.
The design should specify whether the insulation will be above the rafters, below them or on the flat roof deck. The insulation board is not an independent load-bearing element. Its support and fixing must correspond to the documentation. The choice of thickness is determined by calculation of the entire building envelope, taking account of thermal bridges and the other layers.
What should you check before starting work?
The substrate should be stable, suitably level and prepared for the chosen fixing method. During renovation, moisture and the condition of the structure must be identified. Enclosing wet timber beneath gas-tight facings can hinder its drying out. The cause of the problem is removed first, and only then are new layers added.
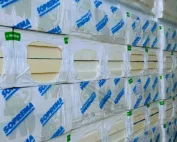
The weather and the method of protecting the works must also be established. The low water absorption of the foam does not mean that unprotected boards can be wetted at will. Water can get into the joints and lower layers. The material is stored so as to protect the edges and facings from damage even before installation.
How should you plan the board layout?
The layout should limit narrow offcuts and ensure correct support. The boards are laid with staggered joints in accordance with the system. In a multi-layer arrangement, the joints of successive layers should not coincide unnecessarily. The edges must be fitted without leaving open gaps.
For rebated boards, the nominal dimension must be distinguished from the coverage area. For example, a format of 1200 × 2400 mm may give a smaller usable area once the overlap is taken into account. The quantity of material is calculated on the basis of actual data. It is worth drawing out the areas around the chimney, windows and roof edges straight away.
What does fixing above the rafters involve?
In an above-rafter solution, the insulation forms a continuous layer above the timber structure. Counter-battens and fixings must transfer the roof covering loads to the rafters. The selection of screw length, angle and spacing depends on the system and the loads. It cannot be determined solely by adding the board thickness to the length of an ordinary screw.
On the roof slope, proper securing against sliding of the layers is also required. The starter detail at the eaves and the connection at the ridge should follow the instructions. The ventilation channel beneath the covering must be maintained if provided for in the design. The insulation should not be pressed into the space needed for air flow.

What changes on a flat roof?
On a flat roof, the method of fixing PIR depends on the substrate and the waterproofing. Mechanical or bonded systems are possible if specified for the given materials. With structural metal decking, the direction of the boards and the width of their support must be checked. Screws and sleeves are selected for the entire build-up and the wind forces.
The insulation must work together with the final covering. Not every facing is suitable for direct torching of roofing felt or bonding with any adhesive. An intermediate layer may be required. Falls and outlets must be executed so that the thickness at the drains and the height of the flashings correspond to the design.
How should joints and details be sealed?
Tapes, compounds and the method of joining facings should be consistent with the roof assembly. Applying aluminium tape to every visible gap does not replace a vapour control design. The continuity of the sealing layer must also be maintained at the perimeter, at walls and at service penetrations.
At the ridge, wall plate and windows, accurate fitting of the insulation is most important. The supplementary material is selected according to the size of the gap and the system requirements. Foam must not be used as a substitute for missing support. Areas near hot pipes and chimneys require a solution in accordance with fire requirements.
What should be checked before covering the insulation?
Joints, condition of facings, support and arrangement of fixings must be checked. It is worth photographing places that will become inaccessible after the covering is laid. No wet sections, damaged rebates or loose offcuts should remain. Particular attention must be paid to areas around equipment bases and roof penetrations.
Heavy packs must not be stored casually on the finished boards. Installation loads and movement of workers require organisation in accordance with the design. After completion, documentation of the product used and accessories must be kept. This will allow a repair or new installation to be selected later without guessing what is beneath the covering.
7 branches. Materials closer to your project.