PIR insulation
Insulation board facings: decide the finish before choosing the board
At a glance
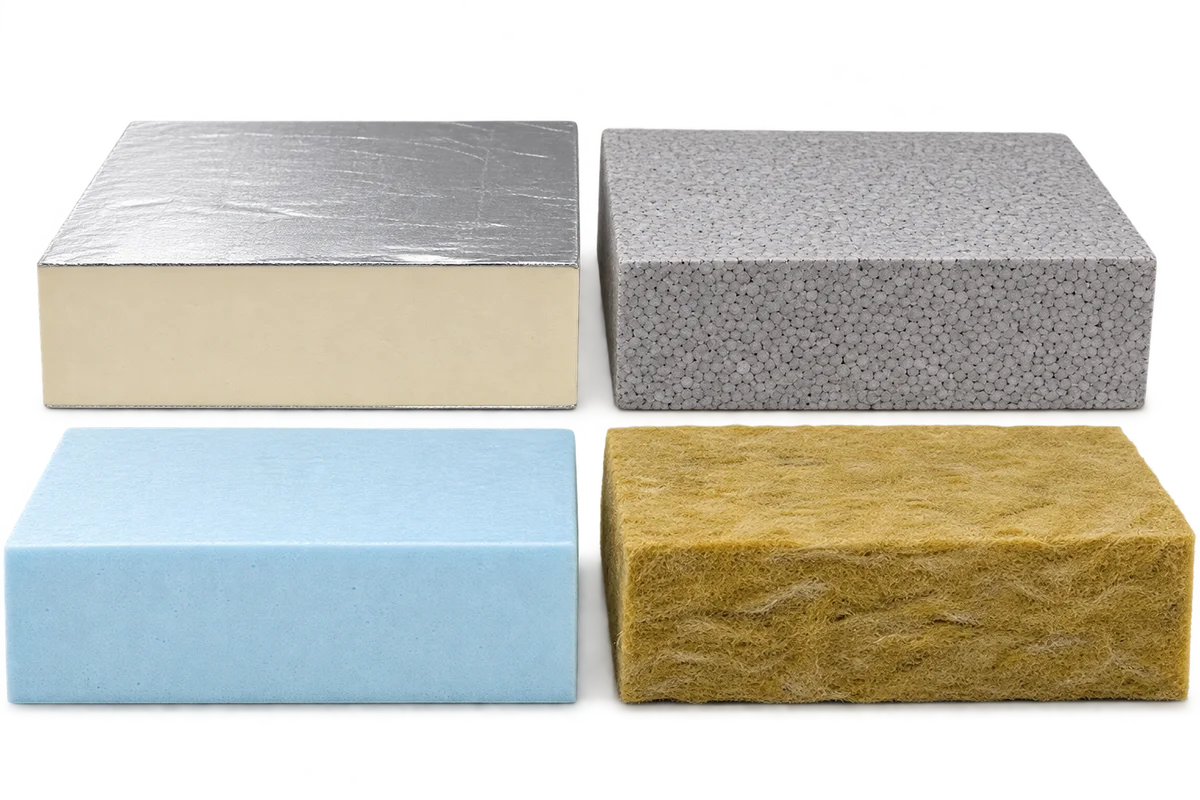
An insulation board is more than its core. Its facing and surface preparation can determine how it works with adhesive, a finish or the next layer of a building element. Comparing PIR, EPS, XPS and mineral wool should therefore start with the intended installation and finish. A board specified for one system cannot be replaced merely on the basis of similar thickness or appearance. This guide covers product identification, surface documentation and agreement on the materials in contact with the insulation. It also helps prepare an unambiguous order and delivery check. It does not provide a universal bonding or rendering method: those operations must follow the chosen solution’s instructions.
Record what will touch the board
The section should identify the layers on both sides of the insulation.
Before requesting an offer, identify the substrate, fixing arrangement and proposed finish. A board concealed within an assembly and a substrate for a facade solution require different descriptions. If the finish is undecided, state that as an open decision rather than permission to use any available board.
Identify both sides of the product
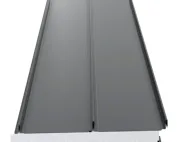
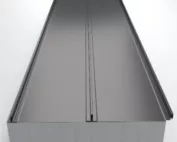
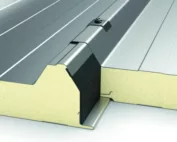
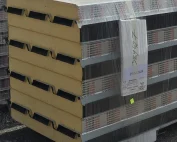
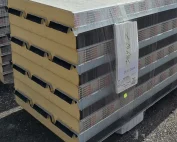
Match the complete product reference to its facing or surface description. PIR ranges include, for example, foil-faced and glass-tissue-faced products. Do not identify the intended use from a photograph’s colour alone; confirm it in the documents for the exact grade.
Check whether the instructions specify an orientation or a particular side facing the substrate. Similar-looking surfaces do not necessarily allow either orientation. Give the installers the board markings and relevant instructions before laying starts, rather than after the first batch has been bonded.
Check the complete system components
For a rendered or coated solution, check the component set covered by the instructions. A description such as “insulation adhesive” does not confirm compatibility with the selected facing. Identify the exact insulation product and proposed contact layer in the enquiry.
Establish mechanical fixing, substrate preparation and junction requirements from the design and system instructions. Do not copy a fixing count from an example of a different wall. Board comparisons should include the full installation requirements because these affect both the order and the work.
Do not transfer instructions between grades
If another EPS, XPS, PIR or mineral wool grade is proposed, return to the assembly documentation. A different core or surface may require compatibility with the remaining components to be confirmed again. Price per square metre and matching nominal thickness are not enough.
Do not remove a facing or alter a surface based on advice for a different product. Where preparation is required, follow the stated method and conditions. Resolve unclear instructions before experimenting on boards intended for installation.
Check the delivered product version
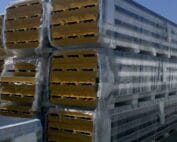
At delivery, compare the label, thickness, edges and facing description with the order. Check that the batch contains the agreed grade. Resolve differing references before pallets are distributed around different parts of the building.
Photograph and flag detached, contaminated or damaged facings for assessment. An improvised patch does not automatically restore the product’s properties. The decision must account for the particular board and the layer intended to bond or connect to it.
Retain identification after installation
Record where each grade was installed. Keep labels and the relevant instruction revisions with accepted changes. Future repairs can then refer to the actual material combination rather than trying to identify concealed insulation from an incidental photograph.
If a new finish product or fixing method is introduced, recheck its connection with the insulation. The fact that the boards are already installed does not confirm compatibility with the next layer. Add the approved revision to the work documents and communicate it to everyone carrying out that stage.
7 branches. Materials closer to your project.