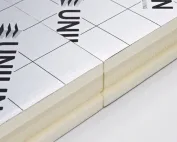
PIR insulation
How to insulate a room from the inside with aluminium-faced PIR board?
Key points in brief
Internal insulation can improve comfort where a wall is cold, but joints need careful planning. In a small room every centimetre counts, and after renovation it is difficult to return to a covered wall. The aluminium facing is part of the protection against vapour penetration. Its performance depends on the airtightness of the entire surface, including at the ceiling and window. Before choosing the board, check that the wall is dry and that water is not getting into it. Stains at the windowsill may result from an external leak. Dampness at the floor may have a different cause. Covering both places with insulation will hide the symptoms but will not stop moisture ingress.
Start with the condition of the wall and the source of the cold
In a home workshop it is also worth assessing furniture placement and how the ventilation performs. A large wardrobe against an external wall restricts the movement of warm air. The insulation design should take account of the future layout of the room, not just the bare wall seen during the renovation.
What does the multi-layer aluminium facing do?
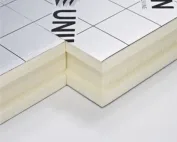
The film restricts vapour transmission through the surface of the board. However, it does not automatically ensure tightness at the joints. A gap between boards, an unsealed perimeter or an electrical box can create a path for moist air to flow into the colder zone behind the insulation.
The entire method of installation is therefore selected: the boards, the materials for the joints, the connections to adjacent building elements and the service penetrations. If the solution requires an additional vapour control layer, it should not be omitted simply because the board appears to be covered with metal. This is decided by the design of the assembly.
Choose the board and finish as one set
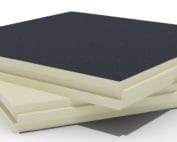
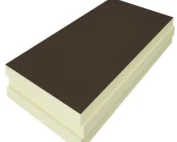
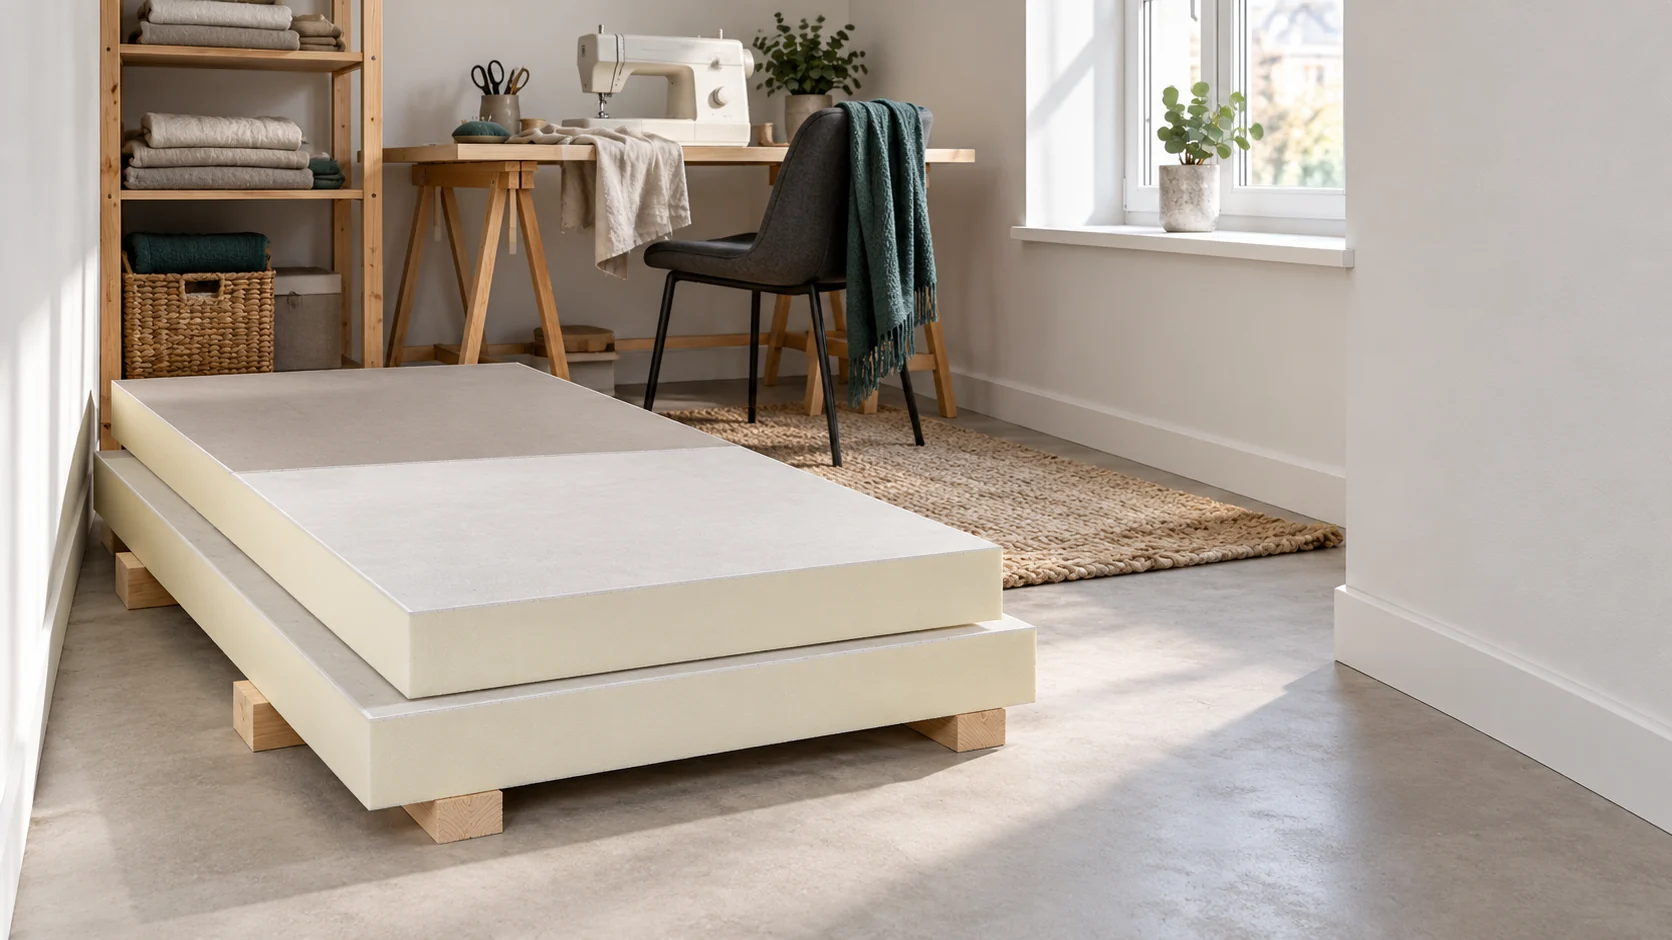
For interiors, PIR insulation factory-bonded to a plasterboard can be considered. The gypsum layer provides a substrate for the finish, but increases the overall thickness of the construction. For an example core of 50 mm and 12.5 mm plasterboard, the element alone is 62.5 mm, before adding adhesive and levelling of the wall.
A board with only a film is not a finished usable wall. It requires a covering suitable for the room and verification of fire requirements. The classification of a set with a specific facing does not carry over to an exposed core or to an arbitrarily selected finishing board.
Draw out the reveals, corners and terminations
Large areas are easiest to bond. The most attention is needed in narrow places around windows, side walls and the floor. Insulation should not accidentally stop a few centimetres short of the frame. The thickness in the reveal, the airtight connection to the window and the method of fitting the new sill must be agreed.
Before the work, check whether the sash will still open after the wall has been thickened. Also measure the distance to the radiator and the curtain rail. Such details determine the comfort of the room. In areas of thermal bridges, simply cutting a thinner piece without analysis can leave a cold strip.

Choose the fixing to suit the identified substrate
Loose paint, weak plaster or a dusty surface are not a reliable substrate for bonding. The preparation of the wall and the type of fixing must match the chosen solution. Accidental air channels should not be created behind the boards, nor should a damp substrate be covered with a sealed facing.
Plan sockets, cables and brackets before closing the surface. A heavy shelf or cabinet requires a fixing that transfers the load to a suitable substrate. The insulating core does not perform a structural function. Every penetration of the sealing layer should have a planned seal.
Moisture still has to be removed after renovation
A warmer wall surface can reduce the feeling of cold, but insulation does not remove the vapour generated in the home. Ventilation should work with the windows closed in normal use. It is worth monitoring humidity, especially when laundry is drying or cooking is taking place nearby.
Before covering the joints, it is worth taking photos and checking the continuity of the seals. After the first heating period, inspect the corners, reveals and places behind furniture. If stains appear, look for the cause. Repainting alone will not improve the detail or the air exchange.
Establish inspection points before painting
Before closing the finish, go around the entire perimeter of the room. Check the details at pipes, corners and window edges according to the documentation. A short section behind the radiator or under the sill is particularly easy to overlook, because it is later hidden by the fittings.
It is worth noting which materials were used for sealing and where the fixings are located. Such a note will be useful when replacing the curtain rail or relocating a socket. A new, accidentally made hole can break the layer whose airtightness was so carefully prepared during the renovation.
Short answers
Does aluminium foil allow you to skip the moisture analysis?
No. A wall insulated from the inside has different thermal conditions and different drying potential. The whole assembly needs to be assessed, along with the condition of the façade, moisture in the wall and the airtightness of the junctions.
Can just a section behind the desk be insulated?
This can leave cold edges and thermal bridges. The scope of insulation should be planned for the building element together with its junctions, rather than treating it as a decorative panel behind a piece of furniture.
7 branches. Materials closer to your project.