Flashings
How starter profiles and the plinth work together at a sandwich panel wall
In brief
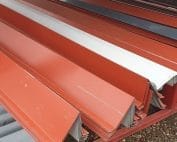
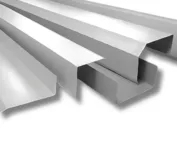
Starter profiles help ensure that wall installation begins in the correct position. At the plinth they must work together with sealing, insulation and a water-draining flashing. These are not tasks that any single trim can perform. It is worth separating the installation function from the protective function already at the design stage. This gives the first panel proper support, and the detail at the base remains feasible to execute and easy to inspect later. Starter profiles are selected to suit the panel layout and their joint. The solution for horizontal installation may differ from the finishing of the lower edge of vertical panels. Panel thickness also matters. The order must therefore include more data than just the wall width.
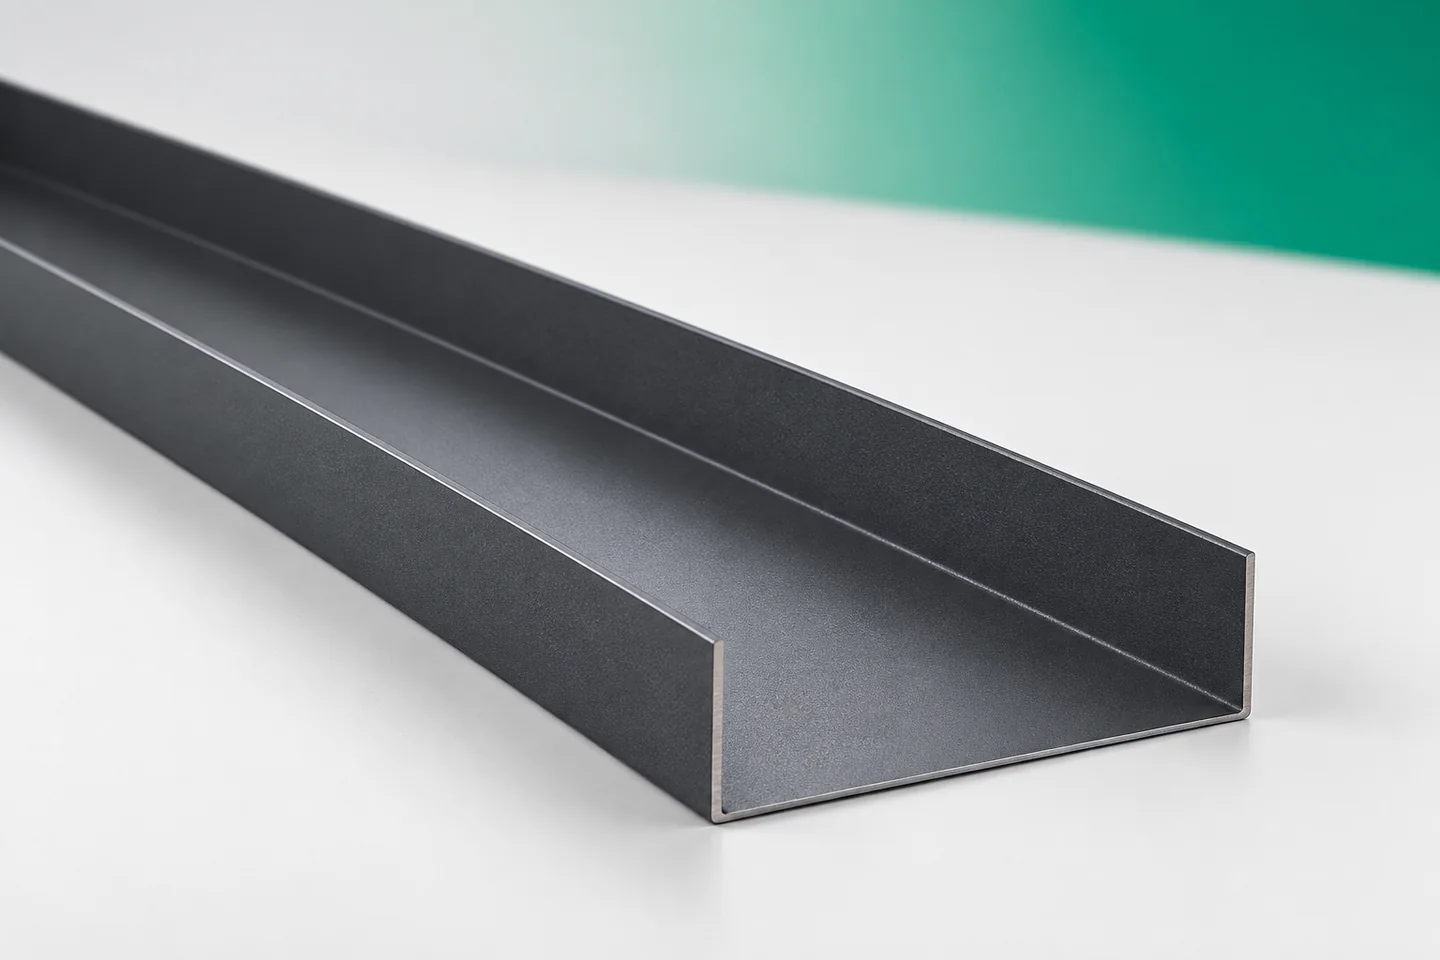
Determine which wall layout is being installed
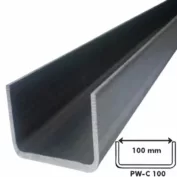
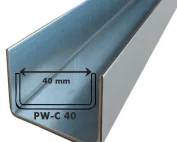
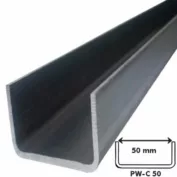
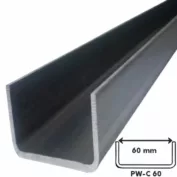
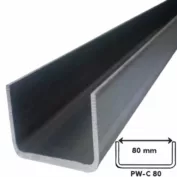
The profile cross-section should be matched to the installation instructions. Differences in the position of the flanges may result from the construction of the panel’s interlock. It must not be assumed that every channel of similar width will perform the same role. Before purchase, the actual contact surfaces of the components should be compared.
Separate support from edge masking
In panel systems, starter profiles are found made of thicker sheet than typical cover flashings. This results from their purpose. However, it does not mean that a specific load-bearing capacity can be assigned to any profile independently. The conditions for its use and fixing should be known before installation.
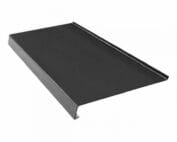
The plinth drip flashing primarily serves to cover and direct water. Its thin sheet may resemble a section of a starter profile, but the similarity does not justify substitution. Separate names, drawings and thicknesses should be included in the schedule. Such information reduces errors when compiling the delivery.
The level of the first element is transferred to the wall
Before fixing the starter, the line of the base rail and the position of the supports are checked. The profile should not be forcibly drawn to every unevenness. The resulting deformation may make it difficult to align the first panel. An irregularity at the start of installation is often visible at subsequent wall joints.
The position of the starter profile must be checked with appropriate measuring tools. The method of passing through corners and openings is also determined. A single level should not be adopted without checking the entire façade. Gaps at gates or changes in ground level require a deliberate solution.
Metal flashing does not replace insulation
At the plinth, materials with different properties meet. Continuity of insulation must follow from the design of the entire building envelope. Simply closing the bottom edge with coloured sheet metal does not allow heat loss to be assessed. Nor does it provide grounds for stating that the risk of condensation has disappeared.
Starting profiles and plinth flashings must therefore be considered together with the layer build-up. The sealing point should be determined before the first panel is placed. If it will not be accessible after installation, an earlier inspection is required. This also applies to the connection of the plinth with vertical corner trims.

Water must remain on the external side
The lower zone of the façade may be wetted by precipitation and by water splashed at ground level. The drip edge should drain it in accordance with the designed path. Its projection and edge shape must be maintained. Additional sealing must not accidentally close the intended drainage path.
Starting profiles should not create unplanned water pockets. It is worth checking the ends of sections, corners and connections at gates. If the detail requires several elements, the order in which they are fitted must be maintained. Later insertion of a missing flashing may damage sealing already carried out.
The coating is selected for a specific zone
Galvanised, aluzinc and coated steel sheets have different surface protection solutions. The choice of starter and drip edge must be linked to the conditions at the base. It is not enough to copy the colour of the ridge or barge board. The area near the ground may be exposed to a different type of soiling.
Coloured external flashings should be compared with a sample of the cladding. An element concealed beneath the panel may have a different function and specification than the visible drip edge. However, the material should not be changed independently merely because it will not be visible later. Durability requirements still remain valid.
Document the plinth before closing it
Acceptance of the initial section should cover the setting of the starter, the fixings and the preparation of seals. It is worth inspecting it before starting subsequent rows. Photographs facilitate later assessment of areas concealed beneath the cladding. They do not replace measurements, but they organise the work documentation.
Gutter apron strips and chimney flashings require different drawings than starting profiles. Non-standard sheet metal flashings at the plinth must also be described separately. It is best to assign them designations corresponding to the façades. The contractor can then check the conformity of the element without guessing which wall it was prepared for.
Questions and answers
Are the plinth drip edge and the starting profile the same element?
Not always. The drip edge usually protects and drains water away, while the starter is involved in beginning the panel installation. Their roles must be read from the system documentation.
Is a wider starter always better?
No. The profile should match the panel, its joint and the layer build-up. A random increase in dimension can make installation more difficult or change the base detail.
7 branches. Materials closer to your project.