PIR insulation
PIR in wall assemblies: external insulation systems, cavities and protective layers
At a glance
A wall with PIR can be finished in various ways. Each of these requires a different connection between the board and its surroundings. Render, the façade supporting substructure and the protective layer of the wall do not perform the same function. The choice of insulation must therefore begin with the complete cross-section. PIR boards can form a continuous insulation layer on the outer side of the wall. This position helps to limit thermal bridges associated with structural elements. The continuous outer layer should extend to the insulation of adjacent building components. A drawing of a flat section of wall is not sufficient to assess the terminations. The connection at the floor slab may have a different geometry from the regular field.
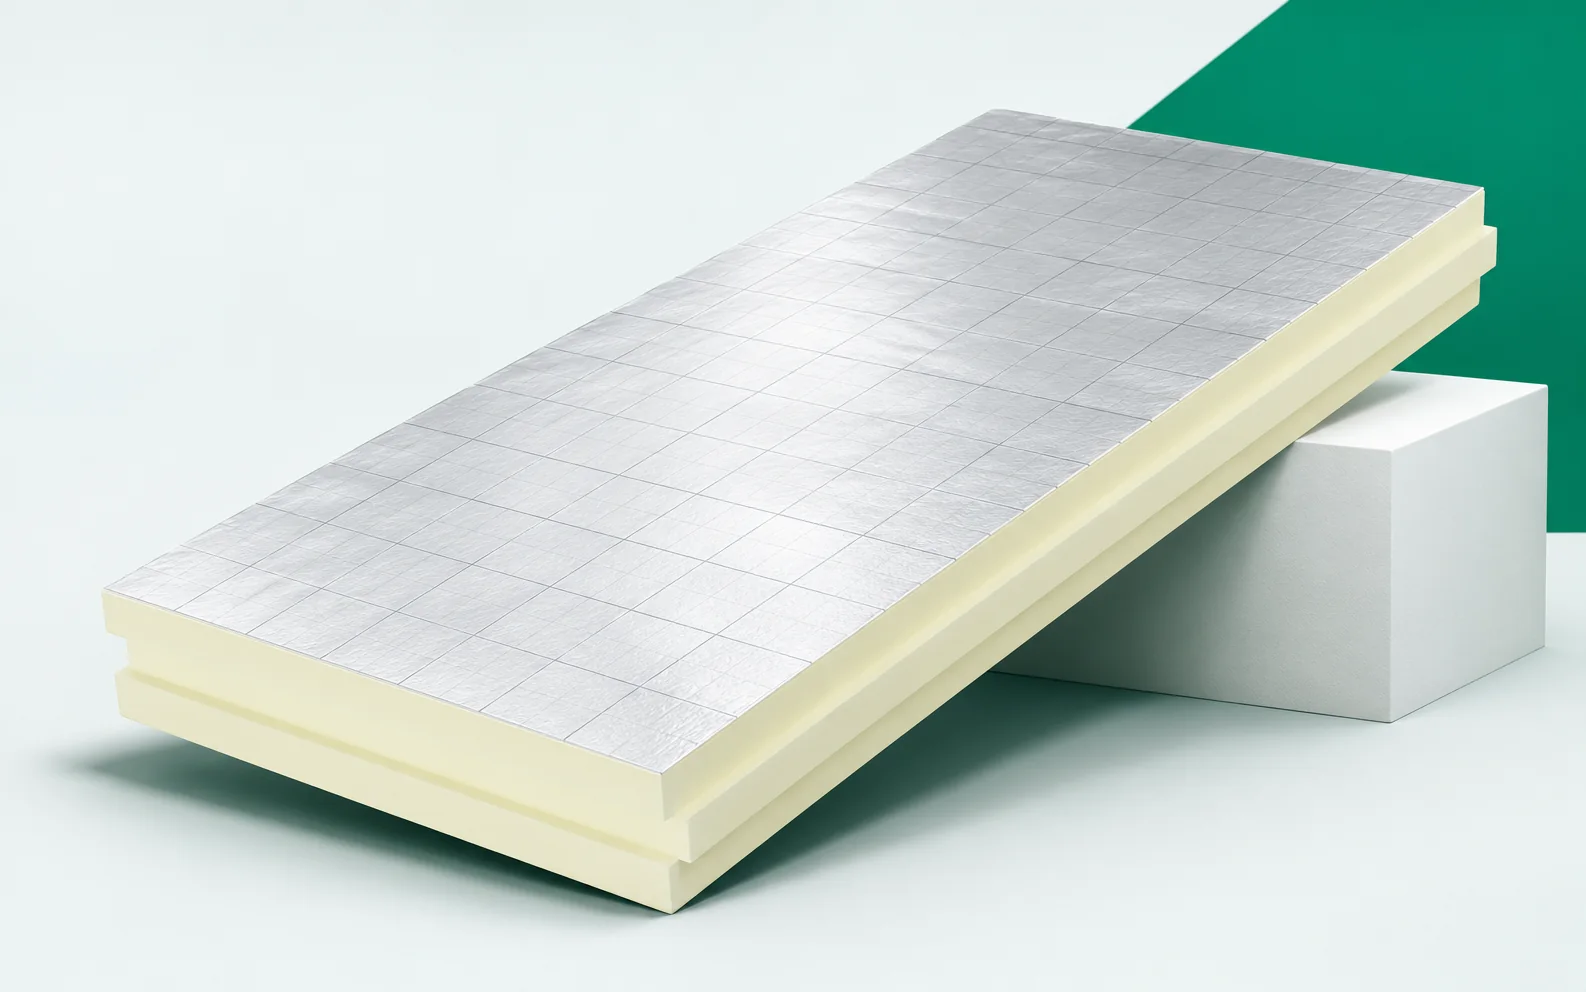
Continuity of wall thermal insulation
Continuous PIR helps to limit the impact of the structure if it does not end before an important detail. It is also worth checking the points where other elements are fixed. The entire façade needs a consistent run of the layer, not just a good parameter on a section of wall.
PIR under render in the ETICS system
ETICS is a set of layers that work together. It comprises the insulating material, adhesive, fixings, reinforcing layer and finish. The reinforcing layer must be compatible with the surface of the selected board.
A print or the silver colour of the facing does not confirm suitability for plaster. The system for plastering should specify the board surface and the technology for applying the successive layers. Adhesion does not result solely from the type of core. The adhesive, fixings and reinforcement must be used in accordance with the intended solution. It is also worth taking into account the corners and the edges of openings. A PIR board can reduce the thickness of the façade, but it does not simplify it into a single layer free of installation requirements.
Ventilated façade and cavity wall
In a cavity wall, the anchors pass through the thermal insulation zone and connect the wall layers; PIR boards must be adapted to their arrangement. A ventilated façade is different, where the external cladding is supported by the supporting substructure. In both solutions, preserve the geometry and the unobstructed cross-section of the cavity intended for draining water. Merely bringing the insulation up to any surface does not recreate the designed system.
Pressing the insulation against incidental irregularities must not close it off. The cavity behind the finish has a defined width and a defined way of being terminated. Its function depends on it remaining unobstructed and on the details at openings and at the base of the wall. It should not be accidentally filled with insulation in order to increase thickness. The supporting substructure and the anchors should leave the intended drainage path open. The choice of board must therefore be linked to the geometry of the entire cross-section, including beyond the thermal layer itself.
Water vapour and the potential for drying out
Water vapour can permeate through materials, and moist air can also pass through leaks. These are two separate mechanisms. Airtightness can be provided by a different layer than the diffusion resistance.
The design must specify the route and the method of connection of each of them. The layer providing airtightness may run over a different material than the layer with the highest diffusion resistance. Both should have continuous terminations. It is worth marking them on the drawing with different descriptions so as not to confuse their functions. Particularly important are the penetrations of installations and the connections to the floor slab. Understanding these differences helps to assess whether the new board changes the moisture conditions of the wall.
Reveals, plinth and the connection to the roof
A window reveal usually has less space for insulation than the wall field, which is why a thin PIR board can be useful there. A window sill connects the thermal insulation, the window frame and the protection against water, so its detail must reconcile the run-off of precipitation with the insulation reaching the intended position at the frame.
Its detail should show both the drainage of precipitation and the continuity of the insulation. The detail under the window sill should drain water away beyond the sensitive layers. At the same time, the thermal insulation must reach the point provided for at the frame. Thin PIR can make it easier to maintain the required dimension, but does not on its own determine the position of the seals. It is worth checking the sequence in which the windows and doors, the insulation and the window sill are installed. This keeps every surface accessible at the moment the proper connection is made.
Internal thermal insulation during renovation
When the façade cannot be changed, internal insulation leaves the old wall on the colder side and changes its drying conditions. A composite with a finishing board makes finishing easier, but still requires a solution for the junctions at the floor slab.
A ready-made product does not remove the need to design the entire wall from the inside. With internal insulation, a ready-made composite simplifies part of the finishing work. However, the connections at the floor, ceiling and side walls still remain. It is in these places that the continuity of the layer may end. The design should also specify the routing of services and the fixing of equipment. The composite product is one element of the wall solution, not confirmation that all of its terminations are correct.
Length of the joints around openings
The connection of the insulation to the window frame is repeated at every opening. For an example window of 1.5 × 1.4 m, the perimeter is 5.8 m; with 7 windows we obtain 40.6 m of terminations at the reveals, lintels and window sills. This length shows the scale of the details, but is neither a heat loss nor a ready-made bill of quantities for accessories. Keep the pricing of the openings separate from the regular wall surface. At each of these places, match the PIR to the adjacent layers: plaster, gap or internal finish. The name of the core does not yet indicate the correct surface of the board and how it is to be connected.
7 branches. Materials closer to your project.