Flashings
Roof valleys in sandwich panels – drainage and continuity of the roof layers
In brief
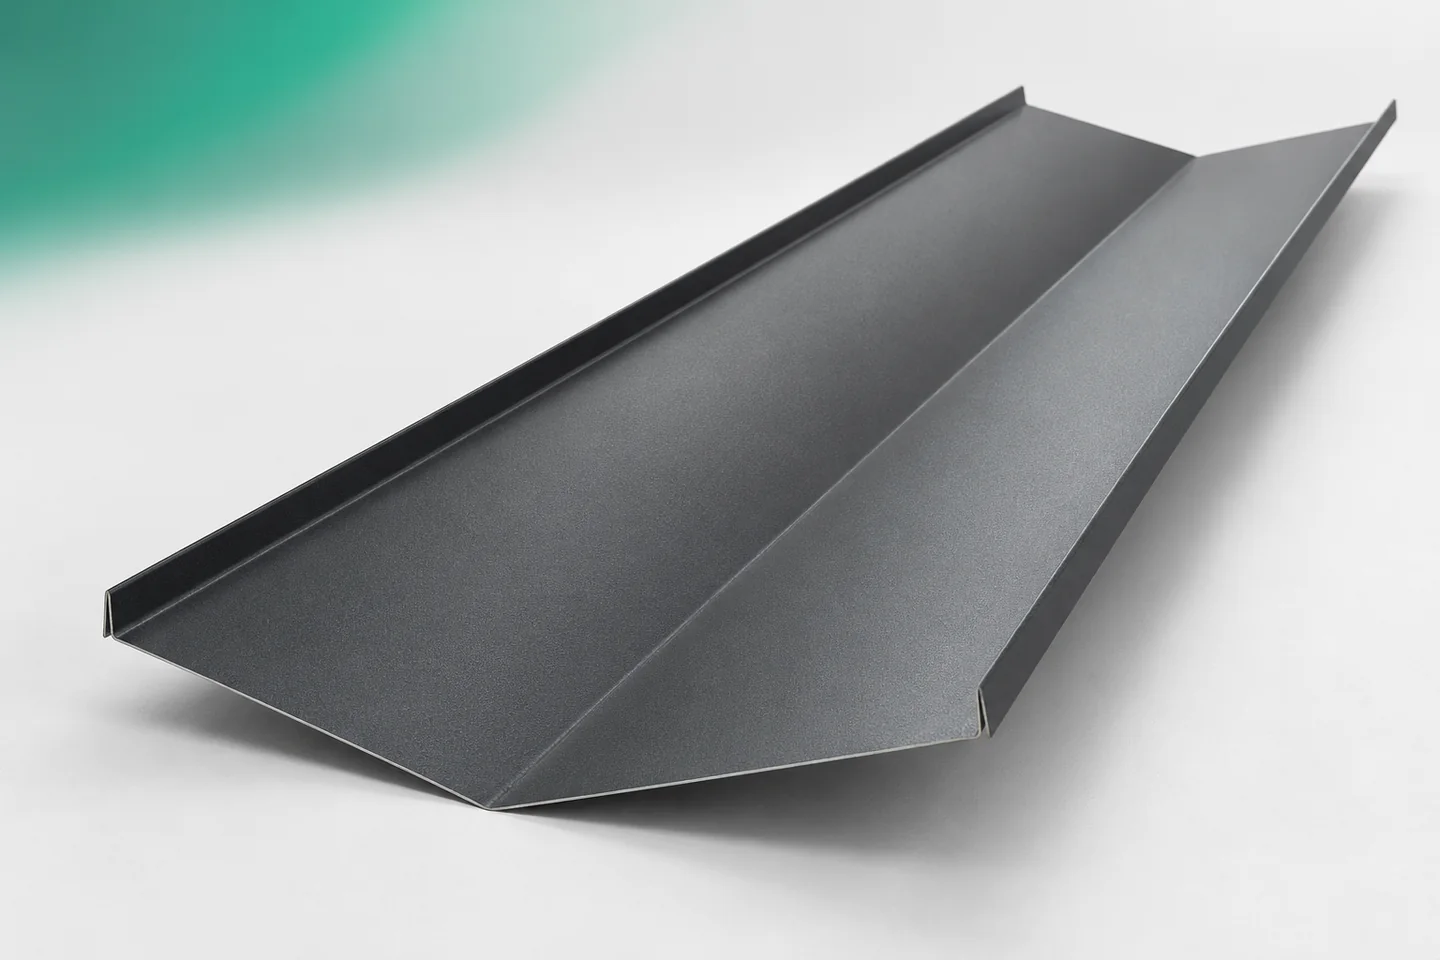
In a roof valley, the roof slopes meet and water flows from them into a common line. The flashing at this point must work with the roof geometry and the layout of the sandwich panels. It is not enough to choose a wide strip of sheet metal. The drainage path, the panel terminations and the connections between valley sections must be planned. Equally important is maintaining the continuity of the layers beneath the visible surface. The required valley cross-section depends on the specific roof. The slope pitches, their layout and the area drained to the common line are significant. The dimensions of a catalogue example flashing are not automatically sufficient for every building. The drainage capacity should be determined in the design.
Determine where the water flows from and to
The end of the roof valley must also be inspected. It may connect to a gutter or another drainage solution. A lack of space for free water discharge changes the operating conditions of the entire element. Therefore, the middle of the roof valley should not be analysed without its start and outlet.
Panel terminations require an accurate drawing
The roof panels meet the roof valley at an angle. This means their length and cutting must be planned. The course of the external profiles and the panel edges must be taken into account. After cutting, not all points will look the same as a straight panel end.
The documentation should also include the supports and fixings for the panels. The cover valley does not replace the structural design. The installation assumptions cannot be based solely on the fact that the steel sheet covers the connection. Determining the detail in advance avoids having to fabricate supports after the roof slope has been laid.
The flashing guides water and works with the layers
Insulation and sealing elements specific to the chosen solution may run beneath the roof valley. Their execution must be coordinated before covering. From the outside, a neat strip may be visible even though the connection beneath it remains unfinished. Stage-by-stage acceptance is therefore required.
An arbitrary sealant should not be used merely to fill visible gaps. The sealing material has a specific application and operating conditions. Its compatibility with the steel sheet surface must also be ensured. The selection should cover the entire system, not just the colour or the name of the product.
Maintain the designed shape of the edges
Roof valleys may have folded edges or additional surface profiling. These features must be reproduced in accordance with the drawing. They should not be straightened during installation without agreement. Changing the edge may affect how water is retained and guided at the junction with the roof slope.
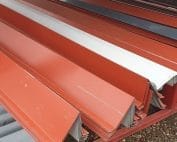
Non-standard flashings are also made for roof valleys with different angles. On the order, it is worth indicating the visible side and all arms. The shape must be compared with the actual roof junction. A photograph from ground level usually does not provide sufficient information for this.

Plan the joints in line with the direction of water flow
A long roof valley may consist of several sections. Their joints should not arise accidentally at the end of a sheet. The required laps, seals and the ability to make fixings are needed. The method of connection must correspond to the detail and the sheet used.
When calculating the quantity of material, the actual length along the slope must be taken into account. The dimension from the building plan alone is insufficient. Connections and terminations are additional. The gutter aprons at the outlet must be adjusted so that they do not create an obstacle in the planned drainage path.
The material should tolerate the conditions in the roof valley
At this point, contaminants brought from the roof slope accumulate more often. For this reason, the choice of sheet should go hand in hand with access for inspection. Galvanised, aluzinc and coated sheets do not exempt from removing accumulated leaves or debris. The coating does not replace drainage patency.
During installation, metal filings and cutting residues must be removed. They must not remain in the roof valley recess. Coloured flashings should be inspected particularly at bends and transfer points. A scratch created on site requires assessment in accordance with the recommendations for the material used.
Coordinate the roof valley with the adjacent details
Ridge caps close the opposite type of roof slope junction. Their cross-section cannot simply be reversed and considered a ready-made valley flashing solution. Similarly, verge flashings and starter profiles have their own tasks. In the complete set of flashings, each element should have a clearly defined place of application.
Near the roof valley there may be chimney flashings or roof steps. Their influence on the flow must be taken into account in advance. It is worth checking the entire section after completion of work by other crews. Leftover material or accidental fixing may disrupt the functioning of a correctly made flashing.
Questions and answers
Can the width of the roof valley be chosen on the basis of the product name alone?
No. The selection depends on the roof geometry and drainage. The catalogue section is a solution to be assessed, not a universal answer for every roof slope.
Can the roof valley be treated like an inverted ridge tile?
This should not be assumed. Both elements operate under different conditions and have different tasks in water drainage.
7 branches. Materials closer to your project.