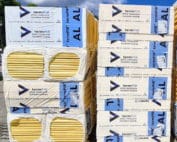
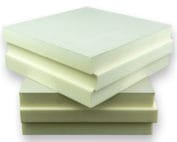
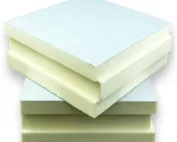
PIR insulation
Which PIR board format will make your renovation easier: 120 × 60 or 120 × 240 cm?
Key points at a glance
A large board means fewer joints, but in a small flat it can be difficult to bring in and position. A smaller format is easier to fit into recesses, although it creates more joints. When choosing PIR, check more than just the dimensions stated in centimetres. The edge type, the actual coverage area and the way the board is finished also matter. A board with nominal dimensions of 120 × 60 cm has 0.72 m², while 120 × 240 cm has 2.88 m². The large element therefore has four times the nominal area. This does not mean installation is four times faster: it must be carried, fitted and supported in line with the chosen solution.
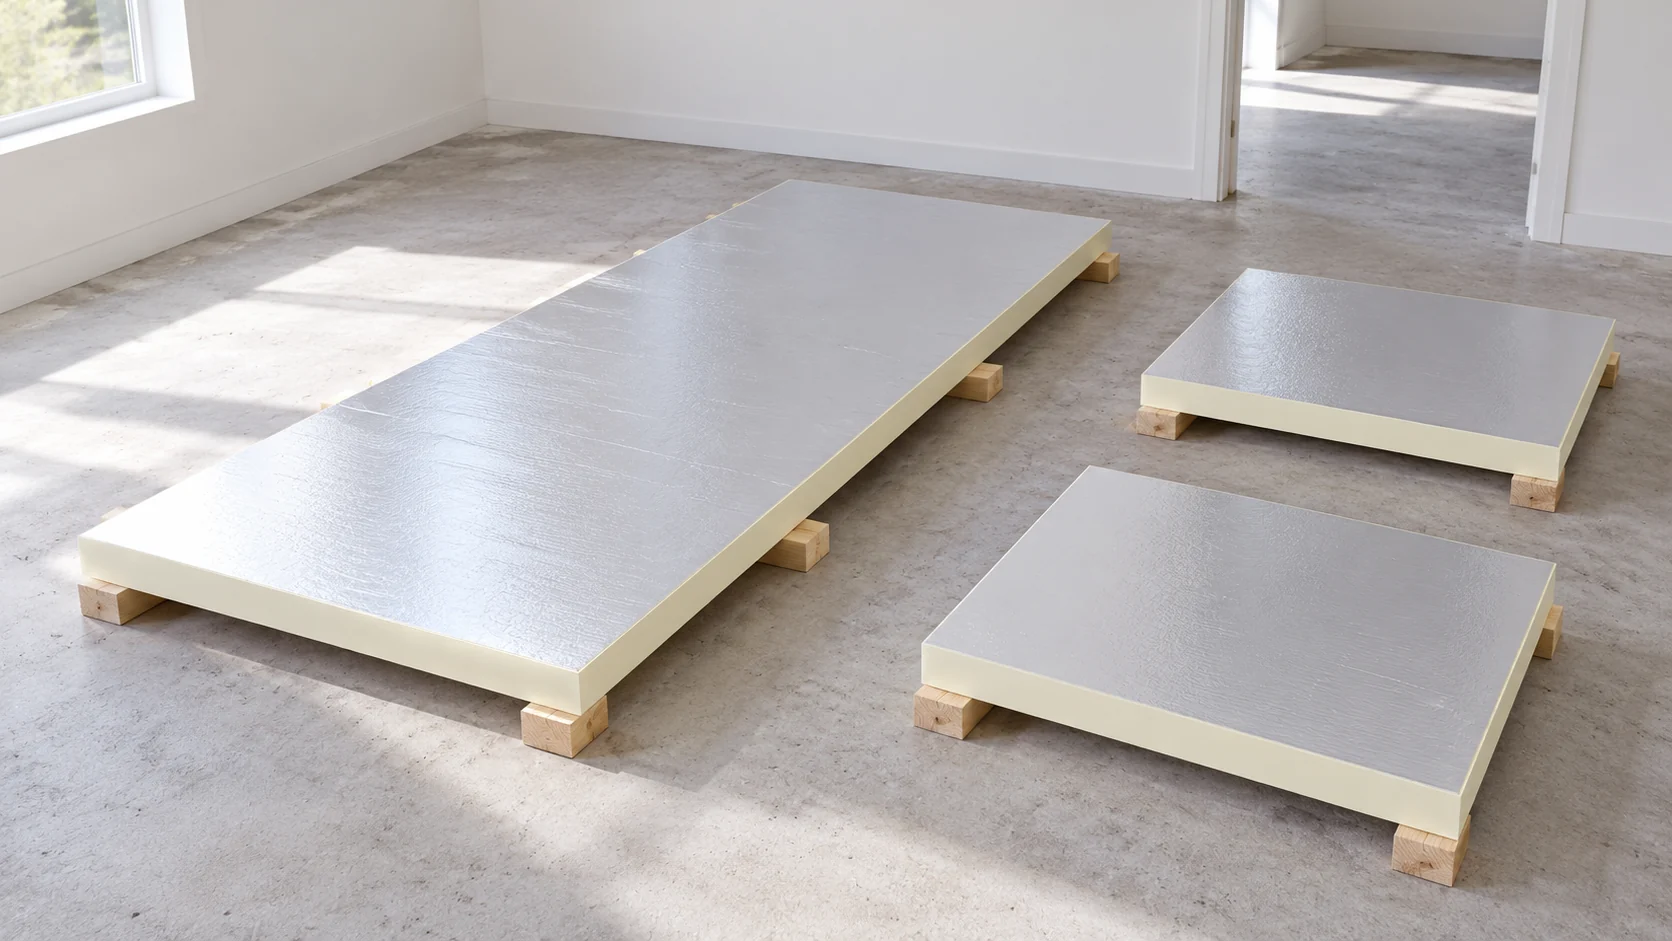
Two popular formats give a different organisation of work
On a wide, unobstructed wall, the large format can reduce the number of joints. In a room with small windows and services, the advantage may disappear because of numerous cut-outs. It is worth drawing the layout before purchase, also taking into account the sequence of works.
Nominal dimensions are not always the coverage dimensions
A stepped or tongue-and-groove edge requires adjacent boards to be joined. The usable area may be smaller than the simple product of the nominal dimensions. The number of packs is therefore calculated on the basis of how the coverage is declared for the specific product.
A fixed deduction should not be assumed for every PIR board. Different edges and formats may be described differently. Also check whether the offer states the area of one piece, of the whole pack or the dimension before milling. A seemingly minor difference grows with a larger number of elements.
A composite with a gypsum board may have a different size
PIR combined with plasterboard should be treated as a separate product. A format of 120 × 260 cm is found, whose nominal area is 3.12 m². Its dimensions and method of accounting for an ordinary insulation board must not be automatically transferred to it.
It is worth checking whether the stated thickness includes the plasterboard or applies only to the core. This matters at windows and doors. A long element with a finish also requires careful handling so as not to damage the corners or the bond between the layers.
Check the carrying route before ordering
Measure the stairwell, landings, doors and the space needed to turn the element. The fact that the door width is greater than the panel thickness does not solve the problem of a long corridor. In a small house, storage space for the material under the roof may also be important.
If a large format has to be cut into smaller pieces straight away, its advantage may disappear. New edges and additional joints are created. Also allow for space to set the element down and turn it before installation. Passing through the door does not end the entire carrying route. It is better to consciously choose a format that suits the logistics than to discover only at delivery that it cannot be safely brought into the room.

Align the cutting plan with the windows and the run of the joints
On the drawing, mark the wall dimensions, openings and installation locations. Check whether very narrow strips are created and whether cut-off pieces can be used elsewhere. The joint layout and the offsets between layers must correspond to the instructions for the selected solution.
For an example of 18 m², the arithmetic alone gives 25 pieces at 0.72 m² or 6.25 pieces at 2.88 m². In the second variant, at least 7 pieces must be purchased before assessing the cutting layout. These are nominal figures, without rebates, openings, waste and packaging rules; they are not a shopping list.
More joints mean more places to get right
The connections must maintain continuity of insulation and, in some systems, also airtightness and vapour control. A smaller format may increase the amount of tapes, foams or other materials specified in the system. Their cost should be considered alongside the price of the panels.
However, a large format does not eliminate details at the perimeter. The insulation must still be connected to the window, ceiling and floor. The largest panel should not be chosen merely to avoid work at the joints. More important is a layout that can be executed precisely in the actual room.
Confirm format, edge and pack in a single specification
Before purchase, record the full dimension, type of facing, thickness and edge finish. Check the number of panels and the area per pack for the selected thickness. A greater thickness may change the packaging, although the width and length remain the same.
In a renovation with short stages, a material that is easy to carry and protect can be practical. On a large open surface, a large element may be better. The choice results from the work area and the cutting plan, not from the principle that a larger panel is always cheaper to use.
Short answers
Does 120 × 240 cm always give 2.88 m² of coverage?
Not always. It refers to the nominal rectangular area. With milled edges, the declared usable area and the way the product is calculated must be checked.
Can large PIR boards be cut into any size pieces?
It can be adjusted according to the instructions, but cutting changes the edges and the number of joints. Narrow pieces and connections must still match the designed layout.
7 branches. Materials closer to your project.