PIR insulation
α-therm SARKING: choosing roof layers with IDELCO insulation
At a glance
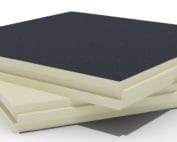
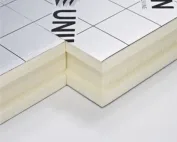
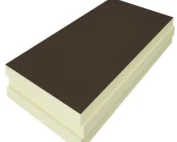
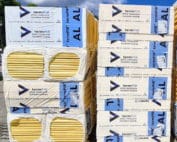
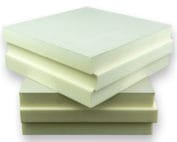
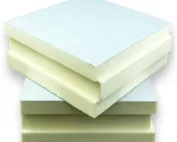
IDELCO α-therm SARKING is used to insulate pitched roofs above the rafters. The PIR board has a multi-layer aluminium laminate on both sides and a tongue-and-groove profile on all four edges. However, it does not include a factory-applied membrane with laps: the underlay is selected separately. The roof cross-section must combine continuity of the thermal insulation with support, fixing of the counter-battens and drainage at the eaves. Laying it over the timber reduces gaps in the primary insulation layer, but does not eliminate all thermal bridges. In this article we discuss junctions with the wall, flashings and openings, as well as the effect of the new layers on the height of the roof slope. The name “polyurethane insulation” does not describe these installation solutions.
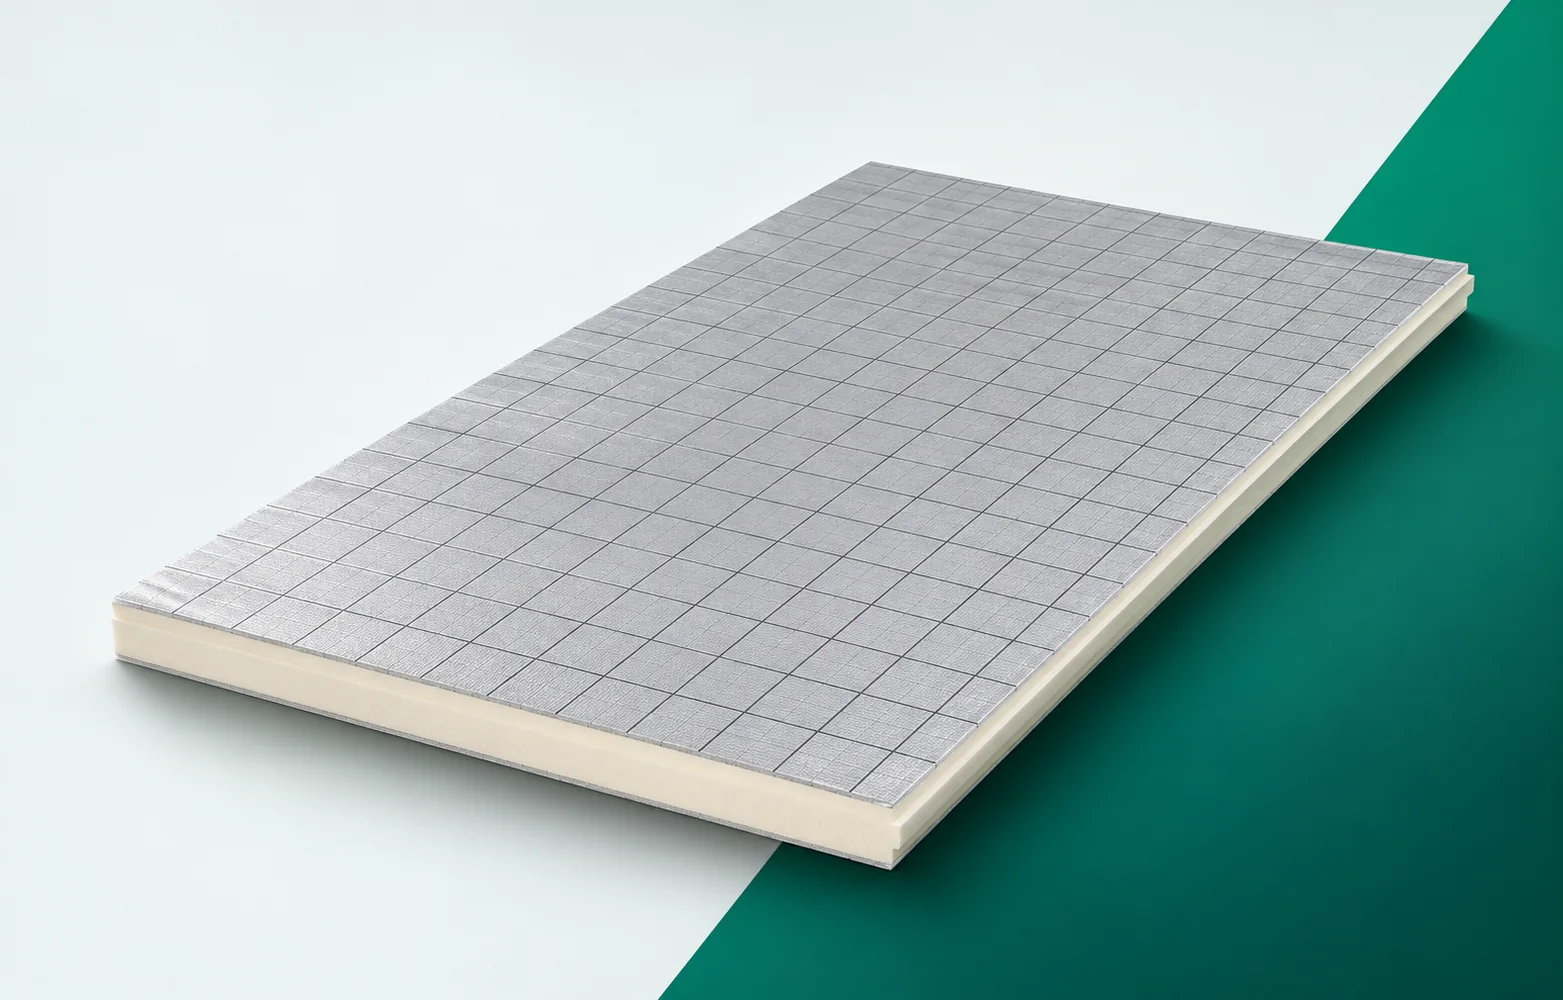
α-therm SARKING PIR boards above the rafters
SARKING requires a separately selected underlay membrane. The schedule of layers above and below the board should indicate their terminations at the eaves so that precipitation is drained away beyond the protected structure and interior. The factory laminate does not have the function of a membrane with laps.
Continuity of the layer and the influence of joints
The declared lambda of SARKING is 0.022 W/(m·K). Continuous laying of the boards above the rafters limits thermal breaks across the width of the timber. The assessment of this benefit also depends on the connection of the roof slope insulation to the other building components.
In both compared assemblies, assess the connection of SARKING to the wall and the points where fixings pass through. Covering the rafters does not eliminate all spatial heat flow paths, so use the advantage of the above-rafter position without promising the absence of thermal bridges. Check the section from the wall to the roof slope and the data for the 100–160 mm variant before choosing the thickness and accessories.
Large-format polyurethane insulation
The large format requires stable support during handling and cutting. Join successive boards so that the profile is matched along the entire length. In the installation drawing, show exactly the large SARKING format 1200 × 2400 mm with the profile on four sides.
Prepare a cutting station and transport for large SARKING boards so that the long profiled edges are not damaged. The laying direction, the run of the supports and the cutting plan must be agreed together. Checking the tongue and the groove before joining helps to avoid accidental gaps and unnecessary offcuts.
New roof pitch height and water drainage
Adding SARKING over an existing structure raises the roof slope level. Before purchase, check the consequences at the eaves, ridge and flashings, even when the interior height of the attic remains unchanged.
The new SARKING level must be coordinated with the gutter, the roof window installation and the space under the covering. The height balance at the eaves and ridge should allow continuous water drainage. Select the protective materials and their joints for this cross-section and the installation sequence.
Fixing and requirements in the vicinity of the chimney
For SARKING, a compressive stress of at least 150 kPa at 10% deformation and reaction to fire class F are declared. These parameters do not confirm any arbitrary board span or its non-combustibility.
In a SARKING roof, check the fixing pattern and the support together with the loads transmitted to the roof truss. At the chimney, a detail matching the thermal and fire conditions is required. The properties of the core alone do not imply approval for bringing the PIR up to a hot flue.
Insulation with polyurethane: the cost of a complicated roof slope
Before pricing SARKING, survey the roof valleys, dormers, windows and roof penetrations. In addition to the board area, the order must cover the accessories and the work at these terminations.
Break the SARKING bill of quantities down into full fields, openings, edges and fixings. Roofs of equal area may require different amounts of cutting and flashings. Compare the cost of the thermal insulation with the completed covering so that the number of square metres of boards does not obscure differences in execution.
A case worth considering
In a system with α-therm SARKING, the load path from the covering through the counter-battens and fixings to the structure must be specified. The tongue and groove join the edges of the insulation, but they do not design the anchorage. Drainage of water from the underlay layer must be provided separately. Bringing these functions together in one cross-section keeps the system complete also at the eaves and at the change of roof pitch.
7 branches. Materials closer to your project.