PIR insulation
What must a PIR wall calculation include to be useful for the project?
Key points in brief
A good calculator result starts with a good description of the building. The same wall can perform differently in a dry study and in a room where laundry is dried. A PIR calculation should therefore answer two questions: how much heat will pass through the wall, and whether, after changing the layers, moisture will be able to dry out safely. The designer needs the planned temperature, the heating method and information about vapour sources. A home office used for eight hours is a different situation from a guest room heated at weekends. It also matters whether the door to a cool corridor remains open and whether ventilation operates after the windows have been replaced.
First, describe an ordinary day in the room
It is worth adding occupants’ observations to the data. A note about a damp corner after several cold days is more useful than a general statement that the room is cold. It is a clue as to where to check for a thermal bridge, a leak or limited air exchange.
The layers must be identified, not guessed
The thickness and properties of each layer are entered into the calculation. The masonry, plasters, previous insulation and the new board all count. For a renovation, the year of construction alone is not enough. Different sections of the wall may have different blocks, and there may be thinner infill under the window. Documentation and local opening-up helps.
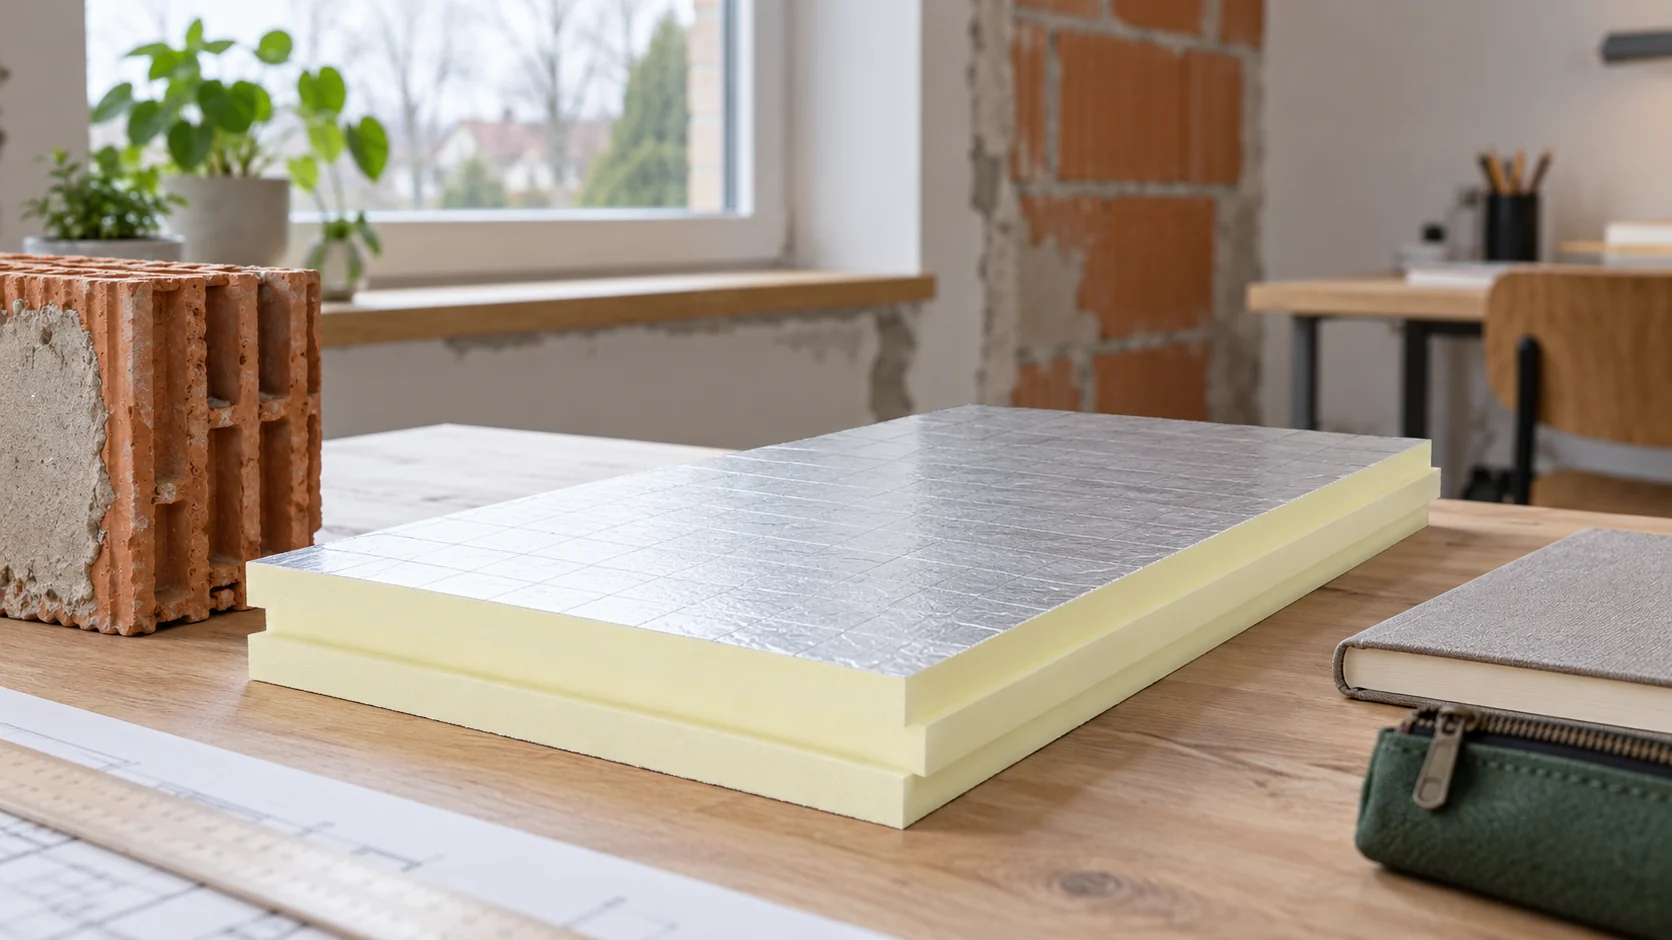
PIR is also not a single item. A board with an aluminium facing has a different application and vapour resistance than a variant with a fleece for a rendered façade. Entering the more favourable lambda from another variant gives a nice result, but describes a material that will not be in the wall.
Separate the insulation resistance from the result for the whole wall
In a simple model, the resistance of a layer is its thickness in metres divided by the lambda. For the conventionally assumed 90 mm and 0.022 W/(m·K), we obtain approximately 4.09 m²K/W. This is the calculated result for the layer alone, not the declared resistance of any board nor the U-value of the finished wall.
The U-value is determined from the resistances of all layers and surfaces, with appropriate corrections. The product document may state its own declared resistance, taking into account declaration rules and rounding. It should not be corrected on the basis of a quick calculation. The design must clearly state which data were used.
The moisture check has its own limitations
Calculation to PN-EN ISO 13788 helps assess the risk of condensation under specific conditions. However, it does not reproduce all phenomena in an old wall. Driving rain, rising damp, air gaps and wet floor beams may require separate assessment or a more detailed simulation.
With internal insulation, the wall becomes colder. Its ability to dry out must also be checked. A report without information on initial moisture content and protection of the façade from rain may omit the most important problem. A membrane on the board alone does not dry out the wall.

A corner and a socket do not behave like a flat wall
The one-dimensional model covers the centre of the building element. At the junction with a floor, a cross wall or a reveal, heat flow is more complex. In these places the surface may be colder despite a good U-value in the main part of the wall. Junction details are needed, and sometimes a thermal bridge calculation.
A separate issue is the flow of moist air through leaks. The report should indicate how joints and service penetrations are sealed. Sealing at the ceiling should not be left to a decision made only after the last board has been glued.
Record the result so that it can be verified
A useful appendix contains the layer build-up from the interior, material data, boundary conditions and the result for the specific variant. It is good to include a second variant and a brief explanation of what thicker insulation changes. It should be clear which data were measured, which were assumed and which require confirmation before renovation.
Alongside the thermal result, record execution recommendations and limits of application. If the analysis relates to a dry room, it should not be transferred to a bathroom without checking. Current legal requirements are verified for the specific project; the calculator result alone does not confirm that the design complies.
Check what happens after a change of use
After a few years, a study may become a child’s room or a home laundry. That is no reason to design every wall for any conditions. However, it is worth recording at what temperature and humidity the solution was checked. This will make it easier to assess a future change.
If the preliminary assumptions are uncertain, a sensitivity analysis is useful: a second variant of humidity or temperature. It shows whether a small change in everyday use significantly worsens the result. This is more useful information than many decimal places for a single U-value.
Short answers
Is a printout from the calculator enough for the design?
It may form part of the documentation if it describes the actual layout and assumptions. The person responsible for the design must assess the correctness of the data, thermal bridges and moisture. A quick printout does not replace that assessment.
Will higher PIR resistance always solve a cold corner?
No. The corner may require continuity of insulation on the adjacent building element or improved airtightness. Increasing the thickness at the centre of the wall does not automatically eliminate the problem at its edge.
7 branches. Materials closer to your project.