Insulation and energy
How to insulate a loft to reduce heat loss
In brief
Insulating a loft begins with deciding which areas will be heated and which will stay cold. The thermal boundary must be continuous and airtight, and its route is best marked on a house section. With usable slopes, insulation covers the roof, dwarf walls and every junction with the storey below. Watch stairs, the hatch and spaces behind dwarf walls, where leaks easily form. Use solutions that meet standards, such as those for thermal insulation, and take care when working on the roof.
What exactly will be heated?
Before selecting the material, it must be established whether the loft will become a full residential storey. If the attic remains cold, insulating the ceiling may be simpler and cover a smaller area than insulating the roof slopes. With usable slopes, the thermal envelope must cover the roof, the stud walls and all junctions with the storey below.
It is worth marking its course on the house section. Particular attention should be paid to the stairs, the roof hatch and the spaces behind the knee walls. They should not create incidental air paths between the warm and cold zones. Insulating individual sections without a common plan often leaves precisely such gaps.
How to assess the condition of the existing roof?
Before covering the structure, it must be checked whether the roof leaks and whether the timber is damp. Stains, musty odour and signs of corrosion require clarification. New insulation can hide the problem but does not remove it. The type of sheathing and the layer directly beneath the covering must also be identified.
A roof with boarding and roofing felt may need a different drying path than a system with a highly vapour-permeable membrane. Not all cavities should be filled with material without checking ventilation. For renovation, it is worth surveying the rafter dimensions and spacing rather than basing the order solely on a design from years ago.
How to choose the material and thickness?
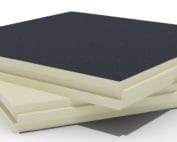
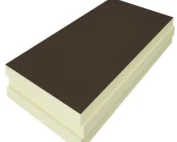
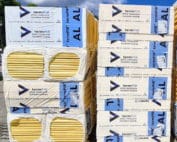
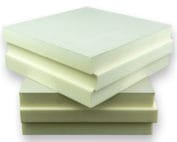
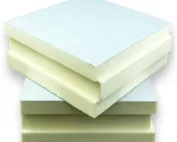
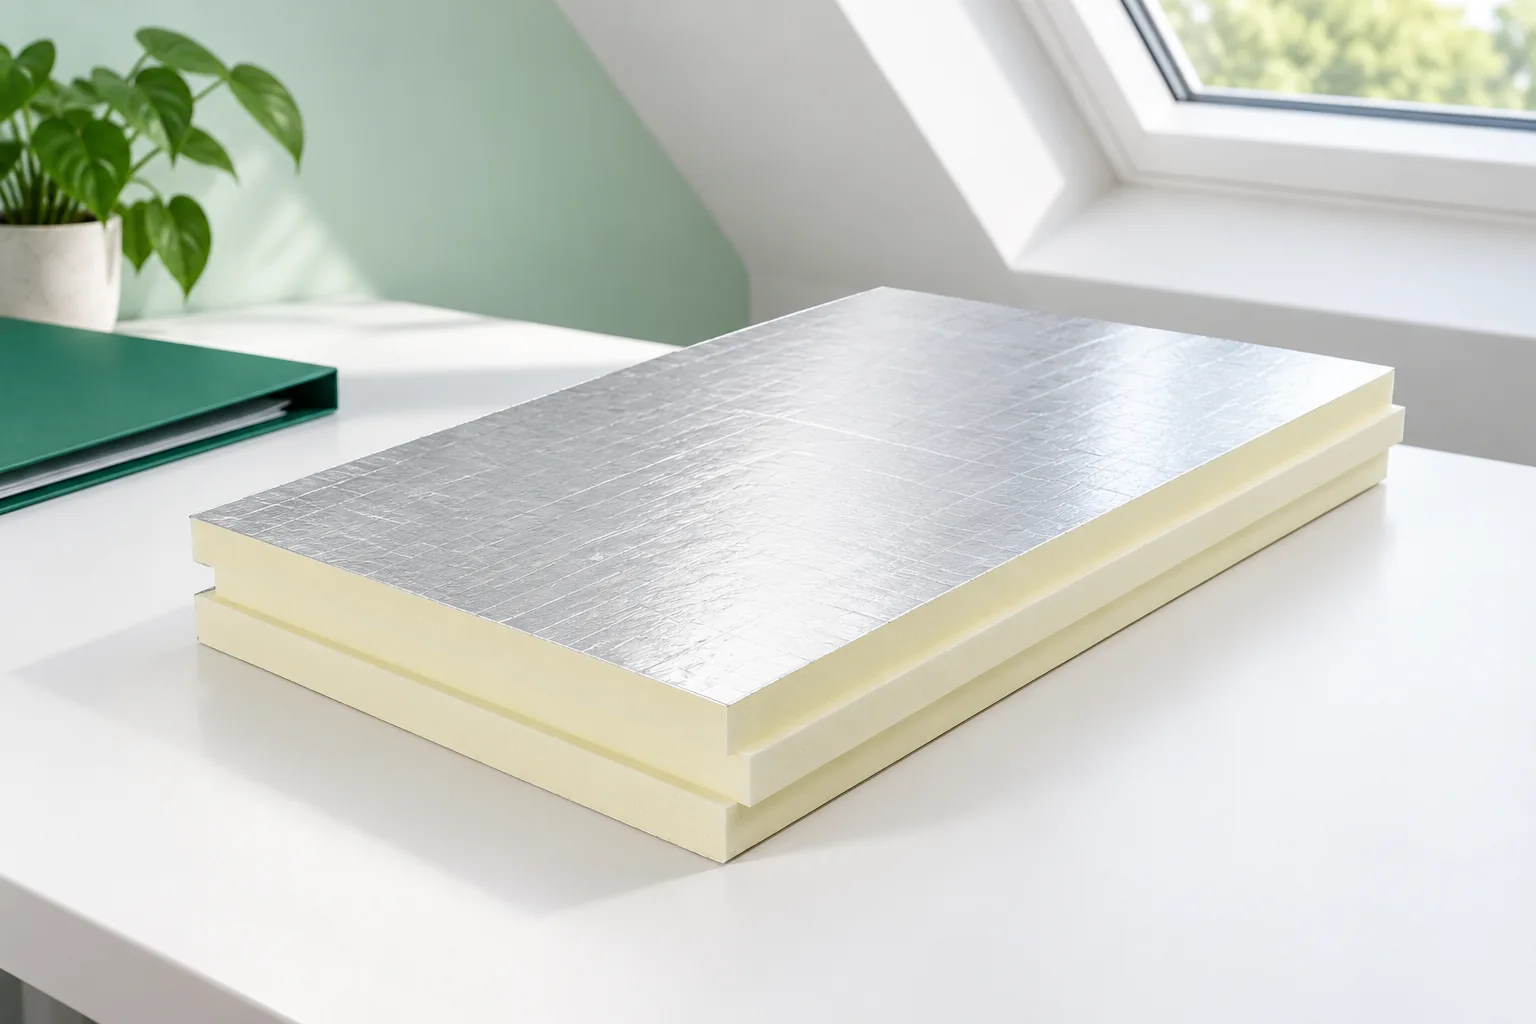
Mineral wool makes it easier to fill the space between the rafters. Rigid PIR boards can reduce the required thickness and may prove suitable as a continuous layer beneath or above the structure. The choice depends on the available space, the condition of the roof and the planned finish. The material must correspond to the specific position in the building element.
The comparison should be made at equal thermal resistance. For λ 0.022 W/(m·K), a 12 cm PIR layer gives approximately R 5.45 m²K/W. This is the parameter of the homogeneous layer alone. The U-value of the loft also depends on the rafters, junctions and thermal bridges. The design should state the result for the entire system.
How to reduce thermal bridges at the structure?
Insulation laid only between the rafters is interrupted by the timber. A layer below the rafters or above the rafters can reduce this effect. Its continuity must also be maintained at the gable walls and the wall plate. The middle of the slope is usually easier than the perimeter, so it is not worth focusing all attention only on the even fields between the beams.
With rigid boards, precise edge fitting is important. In a multi-layer system, joints should be offset according to the instructions. With resilient material, strong compression and uncontrolled voids must be avoided. Fixings for the substructure and additional elements should be included in the design, not added randomly after insulation.

How can the roof be protected against moisture from inside?
The vapour control layer must be matched to the entire building envelope. Its sealed joints also restrict the flow of moist air through gaps. The most difficult places are the perimeter of the loft, the areas around windows and service penetrations. Material laid without sealing the edges does not give a predictable result.
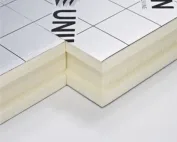
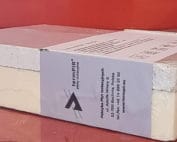
It is well worth planning a service void beneath the airtight layer. This allows cables to be routed without continuously piercing it. Connections to the wall require a stable substrate, and tapes must be compatible with the films and linings used. With PIR board with aluminium foil, it must not automatically be assumed that the laminate alone resolves all joints and corners.
How should windows, the roof hatch and stud walls be insulated?
A roof window requires insulation around the frame and a connection to the airtight layer from the inside. The external flashing is responsible for protection against precipitation and does not replace this work. Similarly, a roof access hatch to a cold attic must have adequate insulation and sealing. A small, weak spot can be noticeable despite good insulation over a large slope.
Behind the knee wall, the course of the thermal boundary must be chosen consistently. If the knee wall and part of the ceiling behind it are insulated, all these layers must connect. An open passage to ducts or a void above the ceiling should not be left. Such places are worth inspecting before installing linings and fitted furniture.
How should the works be accepted before finishing?
The inspection should cover the continuity of the insulation, the condition of the material and the airtightness of the joints. Photographs of details will be useful for later changes to installations. It is worth considering an airtightness test at a time when corrections are still accessible. Thermal imaging helps under the right conditions but does not replace an assessment of the roof construction.
After moving in, effective ventilation of the rooms is necessary. Insulation does not remove moisture from bathing, cooking and breathing. If a damp patch appears on the slope, its source must be identified. Adding another layer from the inside without diagnosis can conceal a leak or worsen the ability of existing materials to dry out.
7 branches. Materials closer to your project.