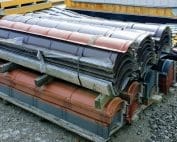
Flashings
Detailing the ridge where two sandwich panel roof slopes meet
In brief
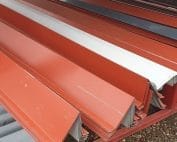
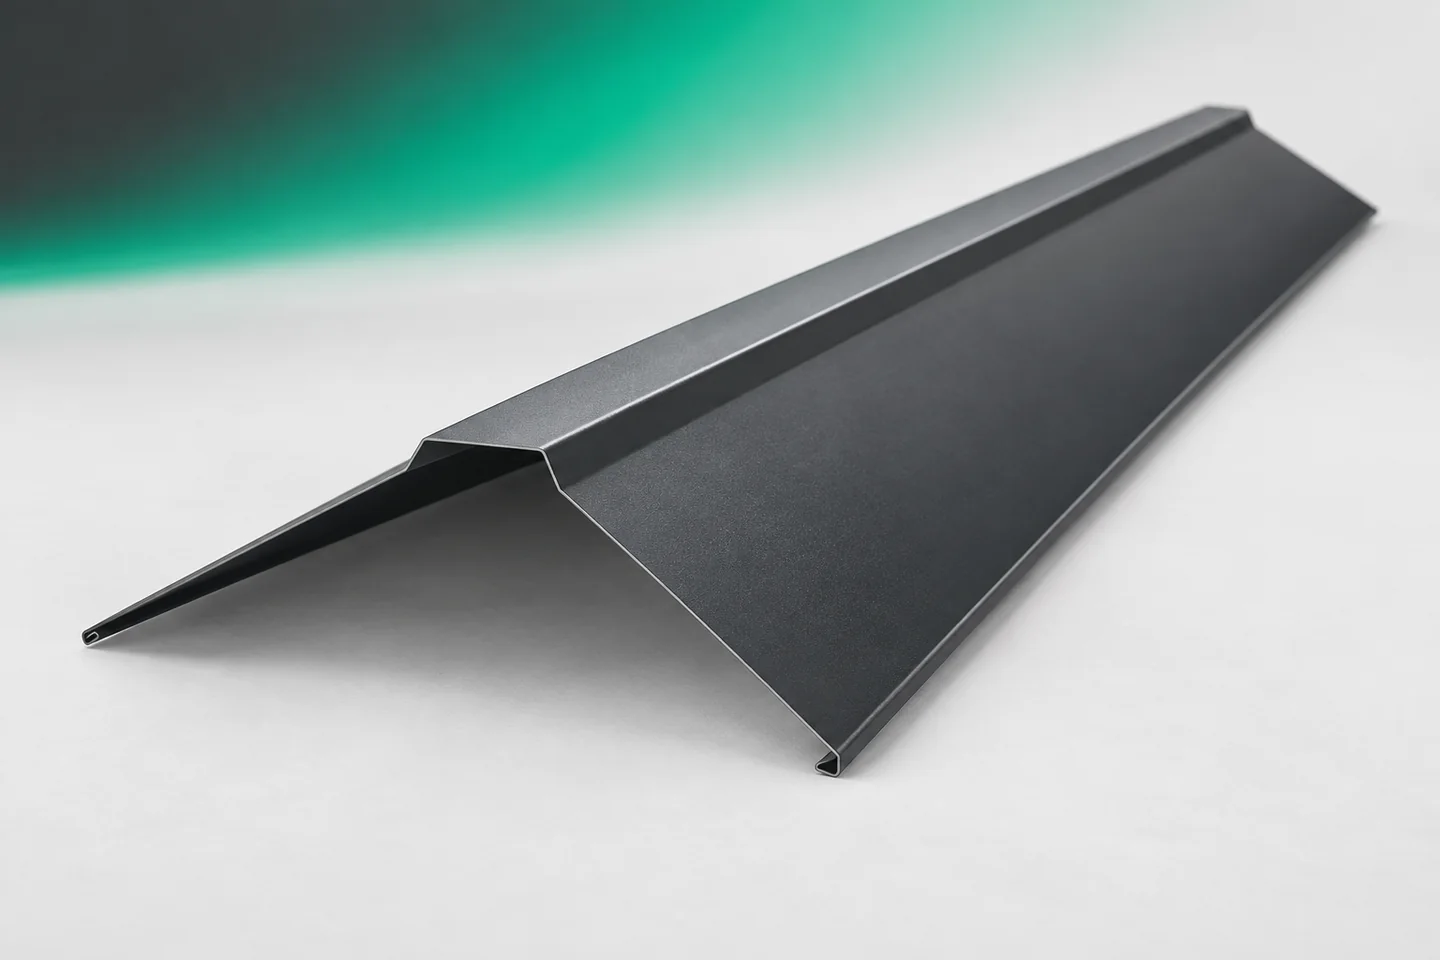
Ridge caps close the junction where two roof slopes meet from above. In a sandwich panel roof, however, several elements lie beneath the external flashing. The insulation layers must be joined, the panel ends covered and the specified seals installed. The choice of ridge cap therefore begins with the cross-section of the entire ridge. Neither the colour of the sheet nor the width of the visible strip alone determines whether the solution is correct. The external ridge cap protects the junction of the slopes from precipitation. System details also include a lower ridge. It is located on the interior side. Both flashings may look similar on a simplified drawing, but they perform under different conditions. One should not be ordered instead of the other without checking the documentation.
Two flashings and two different tasks
The lower element helps close the space beneath the panel joint. Between the core ends, space remains for the insulation solution specified in the design. The upper sheet does not fill this space. Covering the gap with a ridge cap therefore does not mean that the entire cross-section has already been correctly executed.
The roof pitch determines the shape of the ridge flashing
The arms of the flashing must match the pitch of both roof slopes. On a symmetrical roof the relationship is straightforward, but joining slopes of different pitches requires a different cross-section. It is worth checking the actual position of the panels before approving the order. Forcing a finished element to bend may alter its line of contact.
The width of the arms is selected together with the fixing position and the arrangement of the seals. There is no single width that is correct for every roof panel. A higher cladding profile, a greater pitch or a different panel termination may change the required detail. Ridge caps of similar appearance will not always be interchangeable.
The seal must match the profile
A roof sandwich panel has a defined profile shape on the outside. System solutions use elements matched to this geometry. The choice of seal is determined by the cross-section of the specific panel. A random strip of foam may leave gaps or be compressed excessively.
The sealing should form the planned arrangement also at the joint between successive ridge caps. Its position, continuity and conformity with the sheet metal are what matter. The principles of a ventilated ridge from a roof of different construction should not be transferred directly. The method of closing sandwich panels follows from the documentation for that system.
The fastening must not deform the flashing
Ridge caps are fixed at the locations intended for the given detail. The correct fastener and its length must be selected. The washer and the way the screw is seated also matter. Over-tightening can dent thin sheet metal and impair the sealing conditions.
During acceptance, the ridge line and the condition of the surface around the fixings are checked. A visible wave need not be purely a matter of appearance. It may indicate that the flashing was pulled down onto a mismatched substrate. Adding more screws alone does not remove the cause of such a problem.

Material suited to the roof conditions
Ridge caps are made from galvanised, aluzinc and coated steel sheets. Availability must be confirmed for the selected section. For coloured cladding, it is also worth comparing the type of surface finish. The same shade can look different in matt and in gloss.
The coating should match the environment in which the roof operates. Equally important is maintaining its continuity during transport and installation. Flashings are cut with tools intended for sheet metal, without overheating the edges. Swarf left on the ridge cap must be removed before completion of the works.
Ridge termination at the gable
At the end of the roof, the ridge caps meet the barge boards. This point requires separate checking, because elements running in different directions meet here. The order of laps and the closing of exposed edges are important. The detail should be assessed from above and from the gable end.
Gutter aprons and starter profiles are located in other parts of the cladding, but their order is worth coordinating with the ridge. A shared specification makes it easier to maintain colour and coating. Non-standard flashings at the terminations should have their own drawing, rather than being made from random offcuts.
Inspection before complete covering
Before fitting the last ridge caps, the layers that will later become inaccessible should be inspected. It is worth documenting the insulation at the contact and the course of the seals. A photo of the finished ridge will no longer show these places. Staged acceptance therefore provides more information than assessing the surface alone.
At the end, the connections of sections, terminations and fixings are checked. It must also be ensured that no transport film remains. If chimney flashings or other roof penetrations are nearby, their connections must not be covered without inspection. Each detail should retain its own water drainage path.
Questions and answers
Does the ridge cap replace the insulation between the panels?
No. The flashing protects the joint from the outside. Continuity of the insulation and sealing of the contact must be carried out separately according to the relevant detail.
Can a ridge cap be chosen on the basis of colour alone?
Colour is only one parameter. The angle, width of the flanges, material and compatibility with the panel profile and the fixing method are also required.
7 branches. Materials closer to your project.