Installation and construction
Weatherproof chimney flashings on a metal roof
In brief
A watertight chimney flashing depends above all on correctly shaped detailing, not merely on sealing with mastic. The building owner and the contractor should check whether the solution accounts for the actual roof geometry, the sheet profile and the ability of the chimney to move relative to the slope. Support, correct laps and the connection to the underlay are key. It is also worth assessing whether the detail can later be inspected and maintained, especially on the upper side where leaves and snow collect.
Why is a chimney a difficult location?
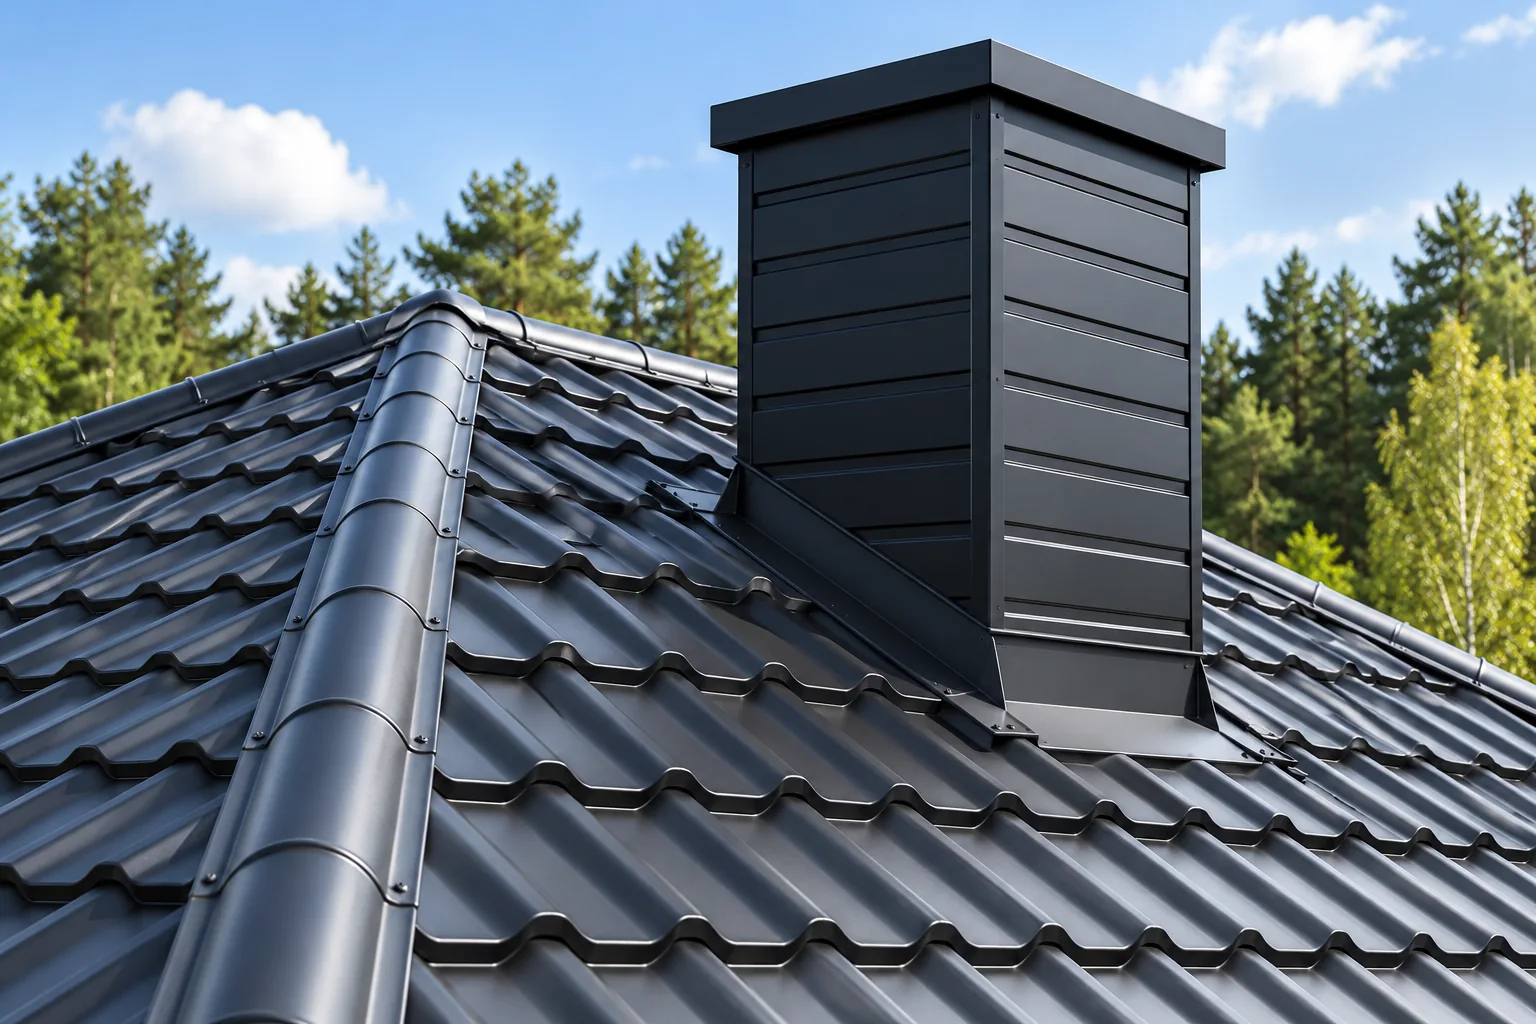
It interrupts the continuity of the roof slope and holds back water flowing down from above. It must be routed around the obstacle and then directed back onto the covering. At the same time, the chimney and the roof structure may move differently. A rigid, incidental connection can crack despite careful sealing on the day of installation.
The width of the chimney, the pitch of the roof slope and the distance from the ridge all matter. A wide obstacle with a long run of flow requires particular attention on the upper side. The dimensions of the flashing should not be copied from another building. The detail should match the actual geometry and the steel sheet profile used.
What needs to be prepared beneath the flashing?
The underlay should be finished and joined according to the system solution. Water that gets under the covering must not flow directly into the insulation at the chimney. Proper support for the elements and a place to fix them are needed. This stage cannot be assessed from the top batten alone.
Before covering, it is worth taking photographs and checking compliance with the design. The required provisions for the chimney surroundings and roof materials must also be observed. Metal flashing does not resolve all thermal or fire-related matters. The entire detail should correspond to the type of flue and the documentation of the system used.
How does the flashing work on the lower side?
The lower element collects water from the sides and directs it onto the outer surface of the covering below the chimney. It must work together with the sheet profile. With tile-effect metal roofing, the pressings create a different surface than with trapezoidal steel sheet. It should not be assumed that a flat strip will adapt itself to every geometry.
Proper finishing of the edge and the absence of places where water could back up underneath are important. Fastenings should not inadvertently interrupt zones of intensive flow. If the detail requires sealing, it is applied at the intended location. It should not replace a missing overlap or an incorrect sheet shape.
What happens at the sides and behind the chimney?
The side elements connect the upper and lower sections and channel water along the obstruction. Their laps should follow the direction of flow. On the upper side, a solution is needed that will not create a reservoir at the chimney. Depending on the geometry, it may require a more elaborate shaping.
Leaves and snow can accumulate directly behind the chimney. The possibility of inspection and cleaning must be maintained. Too tightly finished roofing or incorrect bending can impede drainage. At handover, this side should be inspected particularly carefully, even if it is barely visible from the ground.

How should the flashing be joined to the chimney surface?
The connection must limit water penetration behind the sheet and allow the movement provided for in the detail. The method of execution depends on the chimney finish and the system. The cover flashing, a properly prepared termination and the seal perform different functions. The entire connection should not be reduced to a wide bead of silicone.
The substrate should be stable and suitably prepared. Sealant applied to loose render will not achieve a durable bond. If the chimney is in poor condition, it must first be repaired. New flashings on a crumbling surface can leak despite correct shape and careful installation of the other elements.
Which mistakes cause recurring leaks?
A frequent cause is a diagnosis limited to the visible gap. Water can enter higher up, through the chimney finish or an incorrectly terminated layer beneath the covering. Another bead of sealant at the lower edge will not stop such ingress. The inspection should cover the entire perimeter and the accessible layers from below.
Problems are also caused by incorrect laps, inadequate support and restriction of sheet movement. During repair, it must be determined whether the element can be corrected or requires replacement. A deformed flashing will not regain its correct geometry by merely tightening screws. The repair should restore a safe water path.
How can the finished detail be checked and maintained?
After installation, swarf, cuttings and residues of preparations are removed. All sides of the chimney should be inspected and photographs of the connections kept. During subsequent inspections, the condition of the seals, coating and fixings is checked. A minor defect should be assessed before water dampens a larger part of the assembly.
A planned walkway and access make it easier to service the chimney without standing on the flashings. A metal strip is not a platform. If access to the roof slope is needed for inspection, suitable roof access must be provided. A well-executed detail should not only be watertight but also capable of being safely checked in the future.
7 branches. Materials closer to your project.