Roofs and metal sheeting
How do you flash a chimney on a trapezoidal steel sheet roof so that it drains water?
Key points in brief
Good chimney flashing leads water past the obstruction and back onto the roof. Sealant is only part of the solution. The back of the chimney and the junction between the metal sheet and its wall require the most attention. The detail must also allow for movement of the roof. The sequence below helps you understand the work and check the scope of the order for the roofer. You need the chimney dimensions, the roof pitch and the exact trapezoidal sheet profile. The position of the chimney relative to the ridge and the roof valleys is also important. The more water flows in from the higher part of the roof, the more important it is to divide it effectively. The detail is not selected on the basis of the covering colour alone.
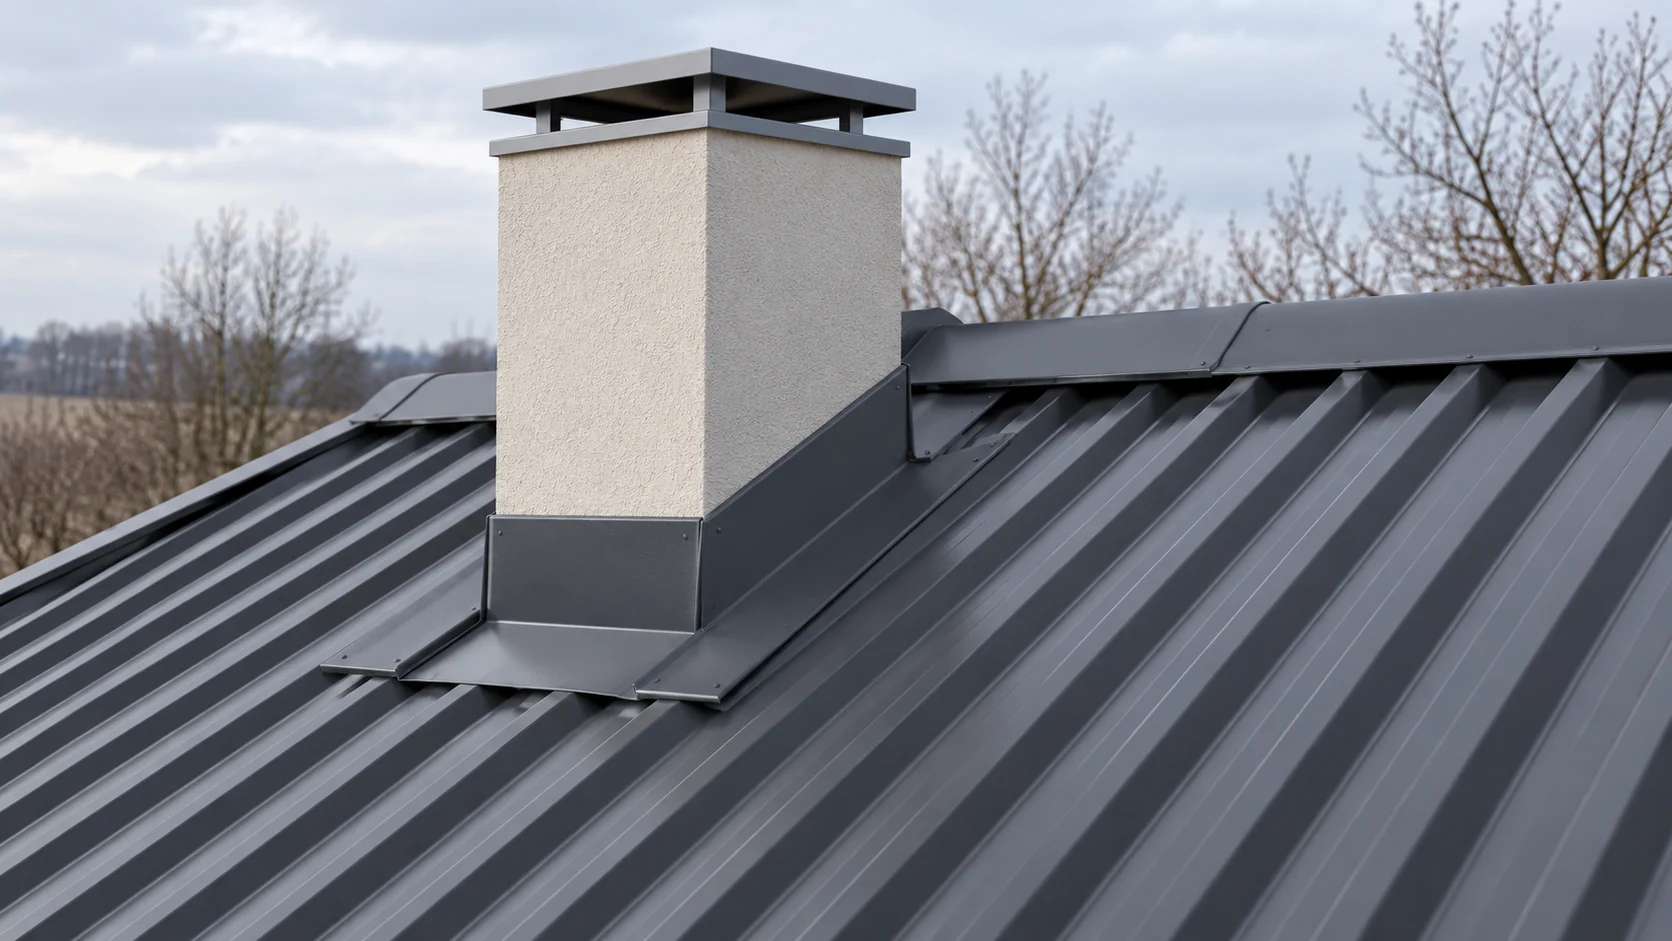
What needs to be checked before bending the metal sheet?
The condition of the chimney surface and the layers below the sheet metal is checked. Loose render does not provide a reliable base for the batten. The preliminary covering should have a planned water discharge. Damp or damaged elements should not be covered without establishing the cause of their condition.
How does the apron on the eaves side work?
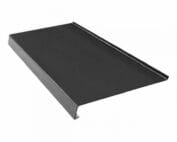
The lower flashing receives water running down the face of the chimney. Its outer part directs it onto the covering below. It must work together with the trapezoidal steel sheet ribs. It must not form a pocket from which water is directed under the sheet. The shape and width are matched to the specific geometry.
When finishing the edge, protection against water being drawn up is taken into account. A tape or seal may be needed at the designated location. However, not every visible gap should be filled with sealant. Some spaces are intended to drain moisture or allow movement of elements.
How do you join the side flashings?
The side flashings form the drainage path along the chimney. Their joints are made in accordance with the direction of water flow. The higher element should work together with the lower one so that precipitation does not get under the lap. The final detail depends on the flashing system and the roof profile.
Covering the junction with a narrow strip of sheet metal is not enough. Water carried by the wind must be taken into account. Fastenings must not accidentally cut through the base of the drainage channel. Before closing the joints, it is checked whether the folds block the discharge towards the eaves.
Why does the back of the chimney require a separate solution?
Water from the higher roof slope collects behind the chimney. The rear flashing is there to divert it to the sides. Where the obstruction is wide or unfavourably positioned, additional shaping of the drainage path may be required. Its form is determined in the detail, not by simply adding a flat sheet on site.
This point is easily blocked by leaves. It should remain accessible for inspection. If a roof valley terminates above the chimney, the volume of incoming water will be greater. In such a configuration, merely replicating the flashing detail from a small chimney at the ridge does not provide a basis for assessing watertightness.

How should the flashing be connected to the chimney?
The roof and chimney may move relative to each other. For this reason, the connection is usually divided into a part fixed to the roof slope and a cover at the chimney wall. The clamping and sealing of the upper edge are intended to limit the ingress of precipitation. They should not block the intended movement of the detail.
The method of fixing the trim depends on the chimney material. A groove, plugs and sealant are not a universal set for every cladding. The requirements of the chimney system must also be taken into account. The external flashing does not replace the required clearances from combustible materials inside the roof.
After the work is completed, it is worth documenting the detail from several angles. A photograph taken from ground level may not show the connection above the chimney or the point where the flashing enters its wall.
How should the sequence of work be planned?
First the substrate and the underlay are prepared. Then the lower section and the side connections are installed. The upper part closes off the drainage path from the ridge side. Finally, the covers at the junction with the chimney are checked. The exact sequence must correspond to the system used.
The work is carried out without overheating the sheet coating. After cutting, swarf is removed. The components are trial-fitted before final fixing. A minor error at the corner may require the apron to be remade. Attempting to conceal it with a thick layer of sealant will make later repair more difficult.
What should be checked at handover?
Ask for photographs of the areas that have been covered. Inspect the corners, the ends of the laps and the drainage path behind the chimney. There should be no loose swarf or exposed damage to the coating. It is also important whether service access will allow the rear part of the flashing to be cleaned.
The scope of work should cover all sides of the chimney and the connection to the existing layers. The price per metre of trim alone does not describe the entire service. Establish who is responsible for repairing the substrate and for any drying out. This makes it easier to compare two proposals for repairing the same location.
Short answers
Can the flashing be made from any sheet metal?
The material and coating must be suitable for the roofing and the operating conditions. Unfavourable contact between different metals must also be avoided, and compatible sealants selected.
Is sealant alone enough at the chimney?
It will not correct poor drainage geometry or the absence of movement allowance. It can seal a designated joint, but it should not replace correctly formed flashings.
7 branches. Materials closer to your project.