Installation and details
In what order should insulated panel cladding be installed?
Key points in brief
When installing panels it is easy to focus on the speed of closing the walls. Quality, however, is determined by the work carried out before each joint is screwed and covered. A plan for the structure, seals and details is needed. A well-prepared sequence helps avoid having to remove panels again when there is no room for tape or flashings. Mark warm, cold, humid and noise-sensitive zones. Different details may be needed in a dry storage room than in a room washed with water. If the partition is to achieve a specified fire resistance, the panel layout, fixing and seals must fall within the classification conditions.
Step one: establish the function and layout of the partitions
Also record the plan for openings and equipment. Cables and brackets are easier to design before the walls are closed. In a small workshop, the idea of hanging a heavy cabinet often only arises after installation. At that point, the thin panel facing cannot replace a prepared supporting structure. Resolving these needs on the drawing saves random drilling into the finished cladding.
Step two: accept the frame and prepare the materials
Check the geometry of the supports, their spacing, width and conformity with the design. Assess the condition of the anti-corrosion protection and the completion of welding work near the future cladding. A deformed purlin can cause problems with aligning the panels. It should not be masked by uneven tightening of successive screws.
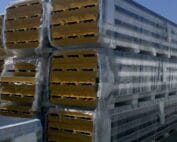
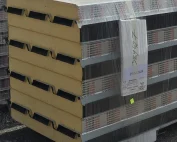
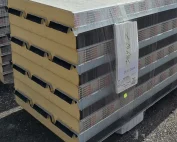
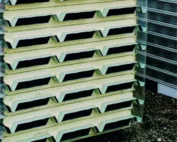
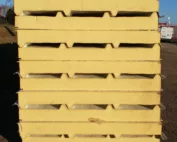
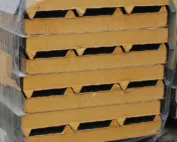
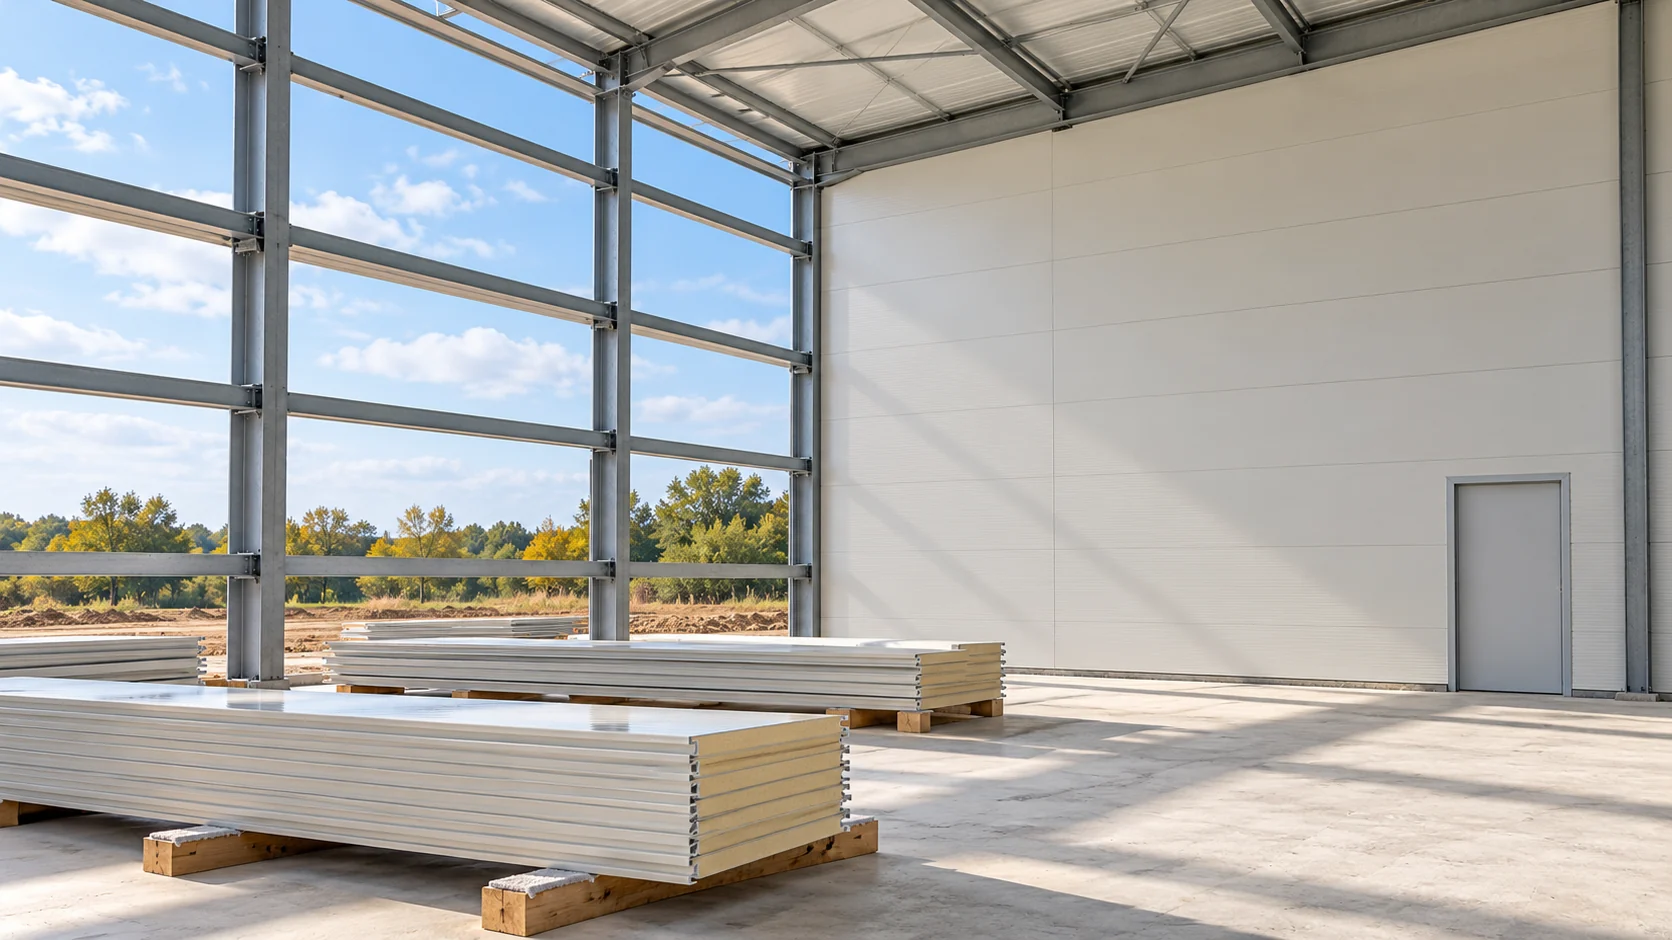
Match the delivered components against the cutting drawing. Store the packs on stable supports, in conditions that allow water to drain and provide ventilation. Move the panels by a method suited to their length and weight, without excessive deflection. Sealants, flashings and fasteners should be available before the actual stage begins, not ordered only after the joint has been covered.
Step three: complete the start of the wall and the first panel
At the base, establish the level, the insulation of the connection and the method of water drainage. Components concealed under the panel must be installed at the correct moment. The external apron alone does not always ensure the air tightness of the entire connection. The detail should separate the tasks of the layers instead of relying on a single random joint.
Check the first panel vertically or horizontally, in accordance with the wall layout. Confirm the façade side and the direction of profiling. Transport markings and the appearance of the film should not be the only basis for orientation. The positioning of the initial element affects the position of subsequent joints and the width of the last cut at the corner.
Step four: check every joint being closed
Fit subsequent panels without spreading the locks and without striking the cladding. The required joint gap and core contact are specified by the system instructions. Excessive compression does not always improve tightness. It can, however, deform the visible surface and hinder the thermal movement of the element.
Fasteners are selected to suit the substrate and the panel configuration. Set them perpendicular and check the gasket compression. Spacing does not follow a fixed number “per metre” but the design and load-bearing data. Check the sealing before it disappears under the next element. Photographs of such locations help to establish the sequence of works later, but do not replace supervision of the execution.

Step five: finish the openings and roof connections
Reveals, corners and the wall-to-roof junction should combine insulation, airtightness and protection against precipitation. Covering them with a decorative trim is not enough. The materials must match the building conditions, including the expected humidity and fire requirements. In the door area, also allow for the movement of elements and the possibility of mechanical damage.
Make cut-outs with tools approved for the panels. An angle grinder may overheat and damage the coating. Remove the resulting swarf from the sheet immediately, including from hard-to-see edges. Check for additional support at openings. Not every cut-out section leaves a panel with the correct load-bearing capacity, even if the opening appears small.
Step six: accept the completed partition and its surroundings
Check the continuity of the flashings, the condition of the coating and the completeness of the fixings. Remove the protective film in accordance with the instructions, including in places that will be harder to access later. Assess the alignment of the panels in daylight. A difference in gloss or a reversed batch orientation may only become visible from an appropriate distance.
Finally, verify that the equipment and installations do not impair the details executed earlier. Cable penetrations should remain correctly sealed and ventilation should work as planned. Keep the product labelling and documentation of important connections. For future extension, this will allow solutions to be matched to the existing envelope instead of guessing its type by colour.
Short answers
Can the panels be installed without a layout drawing?
A prepared layout allows the supports, openings and cut-outs to be determined. Without it, it is easy to buy the right number of metres but the wrong lengths, or to close off a place that needs sealing.
Can a gap always be corrected with expanding foam?
No. The material and method of sealing must match the detail and the requirements of the building element. Foam does not automatically replace a layer sealing against air, water or fire.
7 branches. Materials closer to your project.