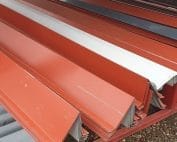
Installation and construction
Which flashings does a roof need?
In brief
The set of flashings is determined by the roof geometry, not by colour alone. Begin with a cross-section drawing that shows where the metal ends and how water drains away. Check how the eaves, side edges, ridge, valley and junctions at the chimney and wall are resolved. For each detail, support, laps and compatibility with the covering matter. Names are often used imprecisely, so base the order on dimensions and function rather than on the element’s name alone.
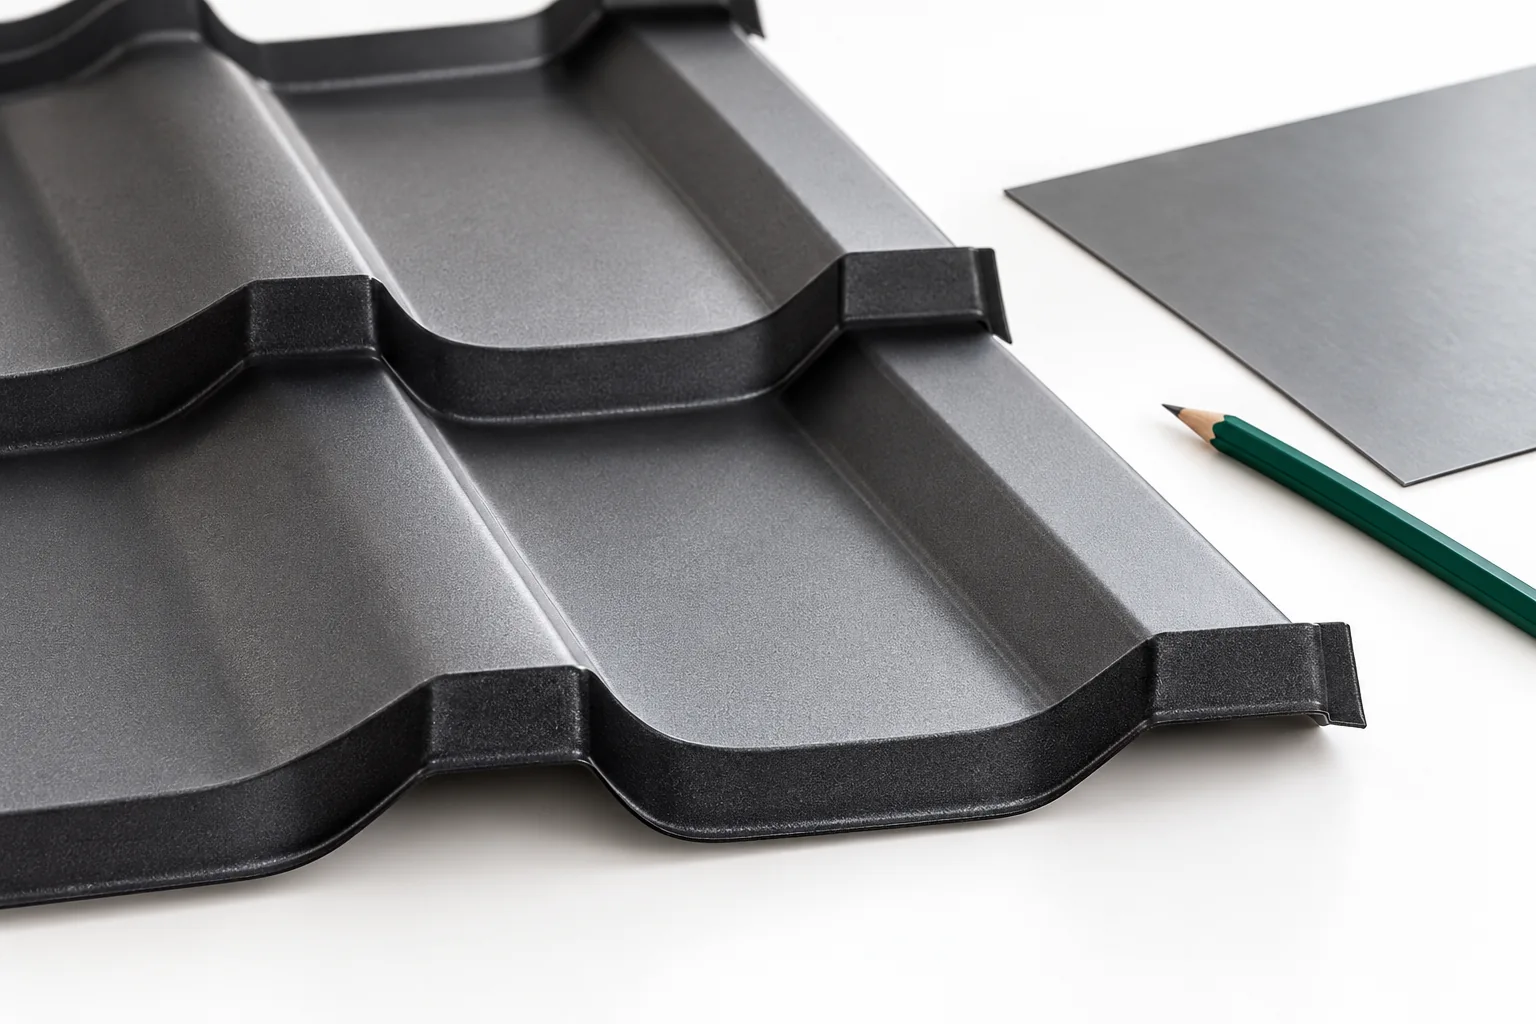
Which flashings work at the eaves?
The gutter apron directs water towards the gutter and works together with the lower edge of the covering. Another element may protect the fascia board or the area under the gutter. Names are often used imprecisely, so it is worth working from a cross-section drawing. It lets you establish where the metal sheet ends and by which route the water drains away.
The eaves also include the termination of the underlay and any ventilation inlet. The flashing must not accidentally close off the required air path. It has to be matched to the profile and the position of the gutter. The same strip shape will not be suitable for every type of tile-effect metal roofing, trapezoidal steel sheet and sandwich panel.
What is the barge flashing for?
It shields the side edge of the roof slope and helps protect its termination from the effects of the weather. It must work together with the covering and the element to which it is fixed. Its shape depends on the profile, the height of the substructure and the way the side of the roof is finished. It is not merely a strip of metal sheet concealing visible timber.
When selecting, overlaps, support and wind loads must be taken into account. A long loose section can vibrate and deform the fixings. An overly rigid connection, in turn, can hinder thermal movement. The detail should follow from the system, not from randomly bending an element on the finished covering.
How do ridge and corner flashings work?
The ridge closes the upper junction of the roof slopes. In many arrangements it must simultaneously allow proper ventilation beneath the covering. Protection against precipitation and the air path should be resolved together. The entire space should not be filled with airtight foam simply because a gap is visible from outside.
External corners require matching to the roof geometry and the profile of the sheets. Short cut pieces of covering must have support and fixing. A wide flashing does not replace these elements. At handover it is worth checking the terminations and connections, not only the straightness of the visible top edge.
Why does the roof valley require separate attention?
The valley collects water from two roof slopes and directs it towards the eaves. It requires a suitable cross-section, support and an unobstructed channel. The width of the visible part should not be reduced solely for aesthetic reasons. Sheets positioned too close together can restrict drainage and make cleaning difficult.
The joints between successive sections must follow the direction of flow. Fastenings should not inadvertently pierce zones of intensive flow. It is also worth ensuring the continuity of the layer beneath the flashing. If water gets under the valley, correct lower protection can limit the consequences, but it will not replace fixing the cause.

What is needed at the chimney and wall?
The penetration flashing must drain water around the obstacle and allow for the movement of different materials. A chimney requires the lower, side and upper sections to be connected. At a wall, a termination that prevents water from penetrating behind the sheet is also important. Sealant on the top edge alone will not always provide a durable connection.
The details must be matched to the substrate and the finish. Loose render or damaged masonry requires repair before installation. New flashings should not be fixed to an unstable surface in the expectation that sealant will solve the problem. It is worth agreeing the sequence of work with the team carrying out the chimney or façade.
How do I order made-to-measure flashings?
Prepare a cross-section drawing with the dimensions of all bends, the length and the side of the coating. Specify the material and colour to match the rest of the roof. Overlaps and the division into sections must also be taken into account. The number of linear metres alone is not sufficient to produce an element with the correct geometry and function.
It is worth checking a trial section at the most difficult point. This allows the support and interaction with the profile to be assessed before producing the entire batch. The fit should not be forced by over-tightening. If an element has the wrong shape, it is better to correct the dimension than to leave permanent stress and deformation on the roof.
How do I assess quality and later look after the details?
The coating should be free from damage, and the edges and joints should be executed in accordance with the documentation. Swarf is removed after cutting. The compatibility of materials and fasteners with regard to corrosive conditions is important. A similar colour does not mean that any metal components can be safely combined in a single detail.
During inspections, check for bends, play and places where sediment accumulates. Flashings often reveal a problem earlier than the main roof covering. Repair should restore the direction of drainage and the stability of the fastening. If the shape is incorrect, additional layers of sealant can only make later replacement of the element more difficult.
7 branches. Materials closer to your project.