PIR insulation
How to choose PIR for a house built from ceramic hollow blocks without overlooking the details?
Key points in brief
A wall made of ceramic hollow blocks does not have a single fixed thermal performance. Thicknesses, the arrangement of voids, mortars and the condition of the existing masonry all vary. When choosing PIR, it is worth starting from this data and then looking at the windows, the plinth and the junction with the roof. A good insulation thickness must suit the whole house, including places that are not visible on a simple elevation. The name of the material alone is not enough for calculations. The wall thickness and the thermal conductivity value specific to the given arrangement are needed. In an existing house, it is worth checking the documentation, the wall at an opening or a safely made inspection opening. One should not choose the best parameter from among all available hollow blocks.
Determine what the wall was built from and how
Also assess the condition of the joints, lintels and ring beams. These sections may conduct heat differently from the main wall field. If you feel cold near the ceiling in the kitchen, the problem may be the ring beam or the connection to the attic, and not solely insufficient insulation thickness on the wall.
Under plaster, choose a façade solution
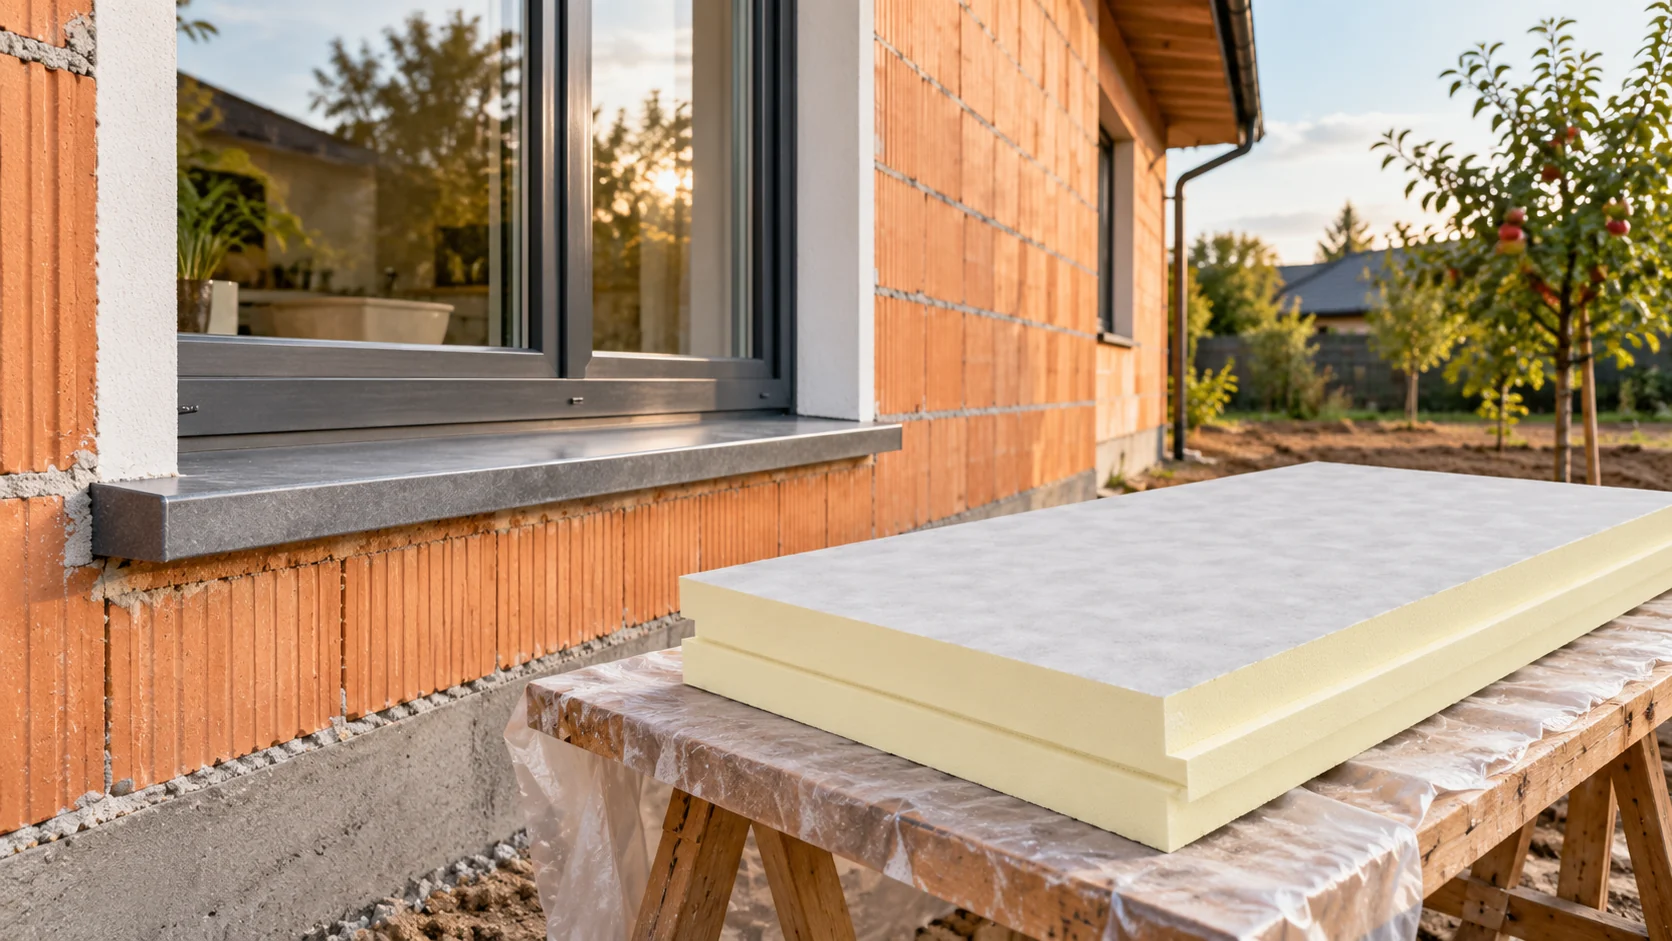
PIR with a fleece facing intended for the ETICS system differs from a board covered with aluminium foil. The facing must work with the adhesive and the reinforcing layer. For the chosen façade variant, thermal conductivity may depend on thickness, so a single value is not copied across the whole table.
The system comprises more than just the insulation. The selection of mortars, mesh, fixings and render should form a proven assembly. On a ceramic substrate, the fasteners must also be matched to the type of block and the anchoring conditions confirmed. A random swap of adhesive or board can change the durability of the façade.
A simple calculation will show the direction of choice
Let us assume, solely for comparison, a 25 cm wall with an adopted lambda of 0.30 W/(m·K), without adding renders. Its resistance is approximately 0.83 m²K/W. With 100 mm PIR at a lambda of 0.026 and surface resistances totalling 0.17, we obtain U of approximately 0.21 W/(m²K).
For the 120 mm variant with a lambda of 0.025, the result of the same simplified model falls to approximately 0.17 W/(m²K). This is not a ready-made selection for every block. The calculation omits thermal bridges and corrections. It only shows why you need to know both the wall and the parameters of the chosen insulation thickness.
Check whether a thicker façade will fit at the windows
Insulation changes the depth of the reveals and the length of the window sills. For a kitchen window, blinds, the roller shutter box and access to light may be important. It is worth drawing the details before ordering the boards so that you do not later cut the insulation where its continuity is most needed.
Also check the downpipes, the entrance canopy and the elements fixed to the wall. Long brackets passing through the insulation require an appropriate solution. Fixing a lamp or a handrail should not compress the insulation or create a leaky penetration in the rain.

Connect the wall to the plinth and roof insulation
The new layer on the wall should meet the insulation of the other building components. At the plinth, there is contact with splash water and mechanical damage. Not every façade board is intended for such conditions. The solution in the lower zone is selected separately together with waterproofing.
At the top, the eaves and the attic insulation must be checked. A cold strip left under the roof can lower the temperature of the internal surface. Refining this point helps more than choosing thicker PIR for the easy-to-insulate part of the façade while omitting the junction.
Finish the selection with documentation and an execution plan
The order should include the board type, thickness, edge type and usable area. The cutting plan takes into account openings, corners and the offset of joints. It is not worth assuming a single waste percentage for a façade with many small windows and for a long, full wall.
Before starting work, confirm the condition of the substrate, the sequence of flashings and the method of protecting the insulation from the weather. The designer checks the requirements for the project according to current regulations. The name of the block alone or a declaration that the board has a low lambda is not confirmation of the compliance of the finished wall.
Before choosing the thickness, look inside the house
It is worth indicating the places where the occupants feel cold: by the sofa, the desk or the floor next to the terrace doors. This allows the designer to compare the calculations with the actual details. A low temperature at the glass does not have to result from the same cause as a cold ring beam.
If window replacement is planned at the same time, the sequence of works matters. The installation of the joinery and the method of sealing should match the target insulation. This avoids installing window sills twice and accidental gaps in the insulation left after an earlier stage.
Short answers
Does a thin PIR board always replace a thick layer of another material?
You can compare thermal resistance, but you must use the correct lambda values and check the full façade system. Saving space does not remove requirements for the substrate, fixings and moisture.
Is it worth insulating only the coldest façade?
This can be a stage of renovation if the connections are planned and thermal bridges are assessed. Otherwise, the problem may remain at the corners and at the junction of the wall and the ceiling.
7 branches. Materials closer to your project.