Installation and details
How to prepare for and carry out the installation of insulated roof panels?
Key points in brief
A weathertight roof is created from well-selected panels, suitable supports and carefully executed joints. Simply screwing down successive elements is only part of the task. Before installation, the laying direction, the lifting method and the water drainage details must be established. The sequence below organises the work, but the joint dimensions depend on the specific system. Verify the axes, the plane and the support widths, as well as the conformity of the structure with the design. Crooked purlins can cause poor bearing and stress on the panels. The structure should not be straightened by over-tightening the cladding with screws. Before starting the cladding, also confirm the stability of the frame and the completion of works that could damage the coatings.
Check the readiness of the structure and documentation
The drawings should indicate panel types, the layout of fasteners, seals and flashings. The pitch must correspond to the system and to the presence of longitudinal joints and skylights. The minimum pitch given for a continuous panel does not always apply with a transverse lap. Data from different instructions do not form a single interchangeable set.
Prepare the packs and safe lifting
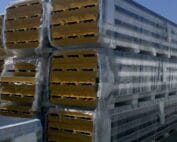
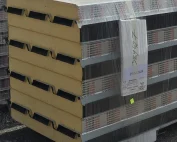
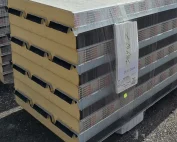
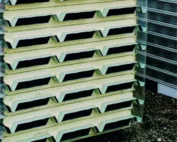
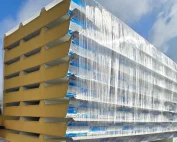
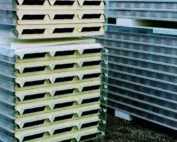
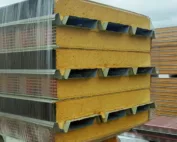
Arrange deliveries in installation order, observing storage requirements. Provide a stable base, water drainage and protection against damage. Before lifting, check the length and weight of the element. The device, sling or suction cups must be suitable for the panel and the permitted method of handling it.
A long panel has a large surface susceptible to gusts. Working conditions, fall protection and the zone beneath the lifted element are determined by the work organisation. Do not count on an additional person holding the panel in excessively strong wind. A correct plan also includes the possibility of interrupting installation and safely setting the elements down.
Establish the first panel and the laying direction
Check the outer face, the side lap and the direction of any undercut. The first panel defines the line of the entire roof slope, so its positioning requires checking at the eaves and in relation to the supports. A small deviation repeated with successive panels can produce a significant error at the end of the roof.
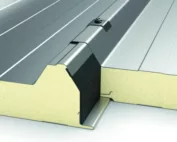
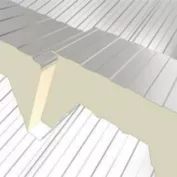
Prepare the required tapes on the supports and the seals before they are covered. The protective film in the joint area must not hinder its correct assembly. The method of overlapping the next panel should correspond to the product instructions. Do not bend the locks open or strike the cladding with a tool to force mismatched elements together.
Carry out fastening and sealing as one stage
The type of fastener depends on the substrate, panel thickness and environmental conditions. The layout results from the design, taking into account loads and roof zones. Screws joining the claddings at the lap serve a different purpose than fixing the panel to the purlins. One cannot be counted as a substitute for the other.
Install fasteners perpendicular to the surface using a tool that allows you to control the pressure. The seal should seal the hole without crushing or deforming the cladding. Both under- and over-tightening can impair the connection. Check the contact of the insulation and the continuity of the seals as you go, while they remain visible. Later covering the gap with sealant will not always rectify a missed detail inside the joint.

Refine the eaves, ridge and penetrations through the roof slope
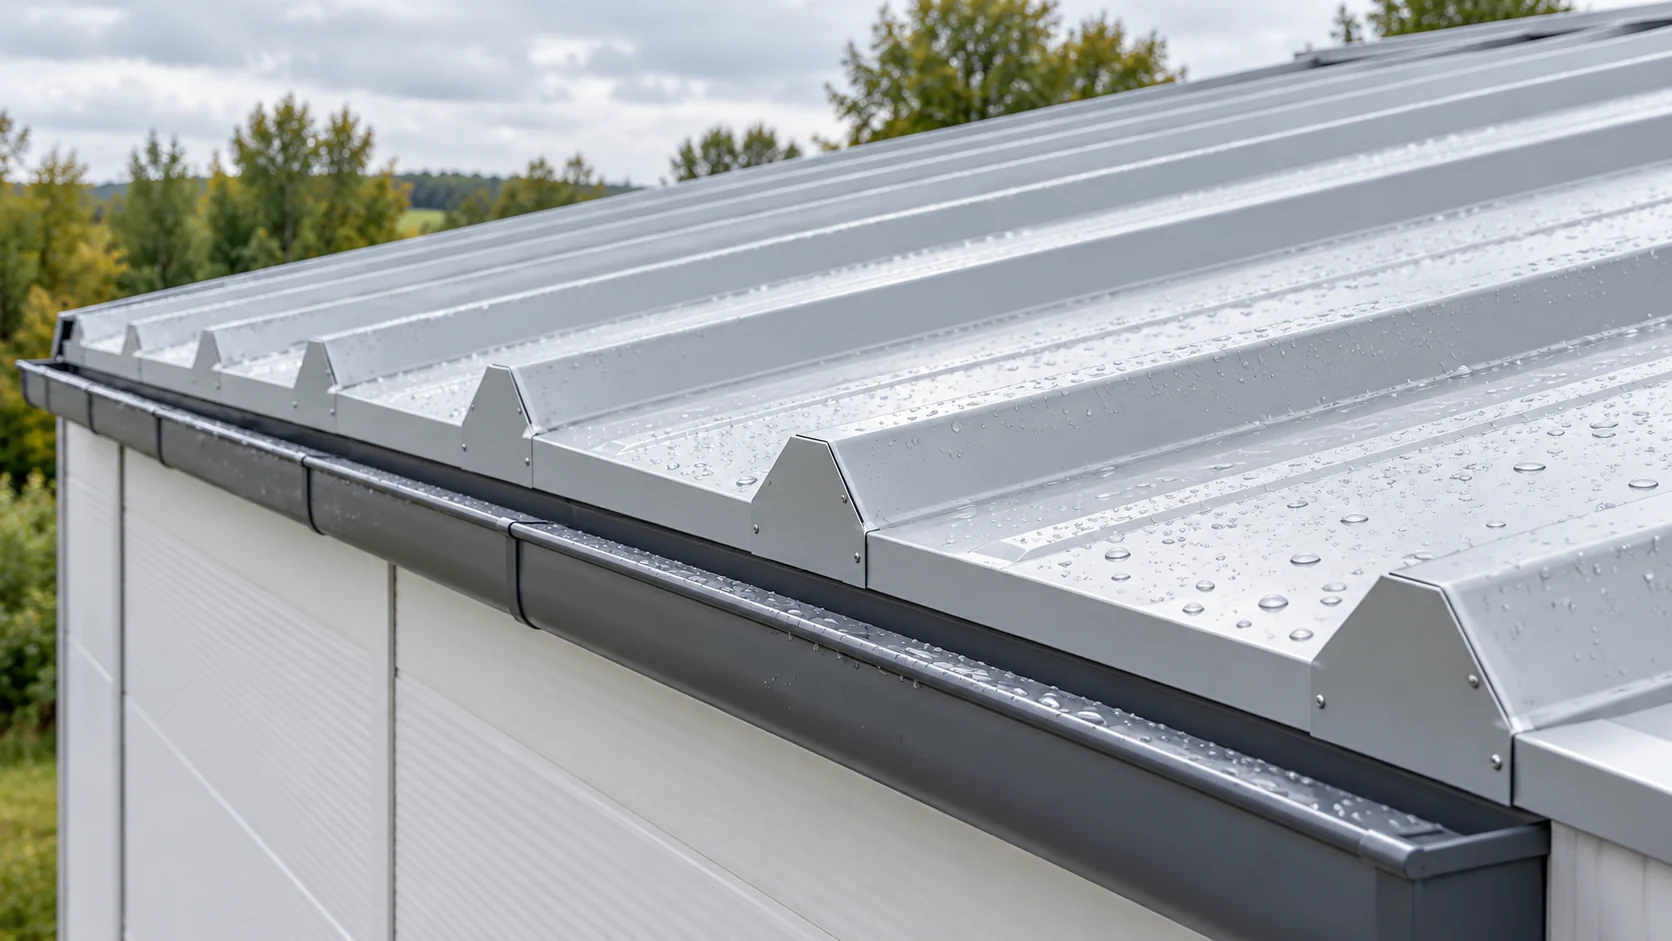
Water must have a continuous path for drainage. At the eaves, the core and cladding must be properly terminated, and at the ridge the specified seals and flashings must be used. The dimensions and method of joining these elements depend on the chosen solution. Do not leave insulation exposed simply because the location is barely visible from the ground.
Skylights, chimneys and other penetrations should be planned together with their support and flashings. Do not cut an opening in the finished roof surface without checking the effect on the panel. Cutting is carried out with tools approved for the panels, without an angle grinder that damages the coatings through high temperature. After the work, swarf must be carefully removed.
Combine roof acceptance with a plan for subsequent inspections
Before completing the work, inspect the fastenings, flashings, laps and the condition of the coating. Remove the film in accordance with the deadline specified for the product. Check that the gutters are clean and free of elements obstructing drainage. Visible damage should be assessed and repaired using a method appropriate for the coating, not with arbitrary paint.
Keep documentation of the panel layout and the locations of penetrations. It will be useful during the installation of future equipment and inspections. The roof does not become a free working platform: the rules for access and load distribution are set out in the instructions and the design. Regular inspection of details allows a small leak to be found before water begins to affect the interior of the building.
Short answers
Does every roof panel have the same minimum pitch?
No. The requirement depends on the system, the longitudinal joints and the elements within the roof surface. The instructions for this exact product and configuration must be checked.
Is it enough to inspect the roof from underneath after installation?
No. The inspection should also cover the fastenings, laps, flashings and water drainage on the outside, while following the rules for safe access to the roof surface.
7 branches. Materials closer to your project.